
Discover Beautiful Nail Ideas to Elevate Your Style
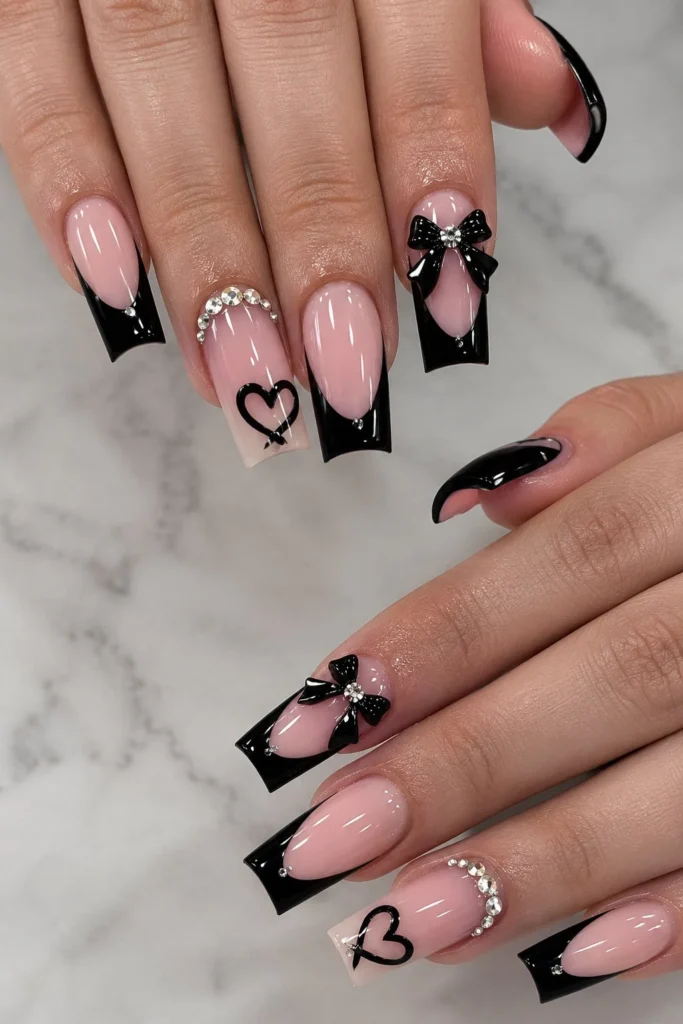
Finding the perfect nail design can often feel overwhelming, especially with all the stunning options available today. Whether you’re prepping for everyday wear, a glamorous party, a wedding, or any special occasion, there’s a nail idea out there to match every mood and outfit. Today, we’ll explore various elegant, trendy, and eye-catching nail designs – so grab your nail polish and let’s dive in!
Why You Will Love This Guide
This article is your go-to resource for unique and beautiful nail ideas. From classic elegance to modern trends, you’ll find everything you need to inspire your next manicure. Plus, these designs are versatile enough to reflect your personal style while keeping you on-trend. Saving this guide for future reference will ensure that you always have fabulous nail ideas at your fingertips!
Elegant Nail Designs
1. Classic French Manicure
Classic French manicures never go out of style. This timeless design features a neutral base with white tips, creating a clean and sophisticated look.
Ingredients Needed:
- Clear base coat
- White nail polish
- Pink or nude nail polish
- Top coat
Steps:
- Apply a clear base coat and let it dry.
- Paint your nails with the pink or nude polish.
- Once dry, use a white polish to create the tips. You can freehand this or use nail tape for precision.
- Finish with a top coat for shine.
2. Ombre Nails
Ombre nails seamlessly blend two or more colors for a gradient effect that’s as bold or subtle as you choose.
Ingredients Needed:
- Base color (light shade)
- Second color (darker shade)
- Makeup sponge
- Top coat
Steps:
- Apply the base color and allow it to dry completely.
- On a makeup sponge, apply both colors side by side.
- Dap the sponge on your nail to create the ombre effect, repeating until you achieve the desired blend.
- Seal with a top coat.
3. Glitter Accents
Add a touch of sparkle to your nails with glitter accents! This design can be incorporated into any manicure for added glam.
Ingredients Needed:
- Your chosen nail polish color
- Loose glitter or glitter nail polish
- Top coat
Steps:
- Apply your base color and let it dry.
- Dip a small brush into loose glitter or use the glitter polish to apply accents on some nails.
- Seal with a top coat to prevent chipping.
Trendy Nail Designs
4. Marble Nails
Marble nails are a chic trend that gives your nails an elegant, sophisticated look with a modern twist.
Ingredients Needed:
- White nail polish
- Dark nail polish (black or navy)
- Clear base coat
- Top coat
Steps:
- Paint a base coat with white polish.
- Drop dark polish onto a small dish of water. Using a toothpick, swirl the colors to create a marbled effect.
- Dip your nail into the water to pick up the design, and let it dry.
- Finish with a top coat.
5. Negative Space Nail Art
Negative space nail designs focus on leaving parts of the nail bare for a minimalist look that can be both edgy and elegant.
Ingredients Needed:
- Base coat
- Colorful nail polish
- Nail tape
- Top coat
Steps:
- Apply a clear base coat and let it dry.
- Use nail tape to create designs on your nails, leaving some sections exposed.
- Paint over the entire nail and remove the tape.
- Seal with a top coat.
6. Geometric Nail Designs
Geometric patterns are a fun way to express your creativity. Use different shapes and colors to create striking visual interest.
Ingredients Needed:
- Base color of your choice
- Additional nail polish colors
- Nail tape
- Top coat
Steps:
- Start with a base color and allow it to dry.
- Apply nail tape in the desired pattern.
- Paint over the tape with different colors. Remove the tape before the polish dries for clean lines.
- Seal with a top coat.
Eye-Catching Nail Designs for Special Occasions
7. Floral Nail Designs
Floral nail art brings a beautiful touch to any outfit, perfect for spring events or weddings.
Ingredients Needed:
- Pastel nail polish colors
- Clear base coat
- Detail brush or toothpick
- Top coat
Steps:
- Apply a clear base coat and let it dry.
- Use pastel shades to paint small flower designs using a detail brush or toothpick.
- Finish with a top coat to enhance durability.
8. Jewel Tones with Gold Foil
Elevate your look with rich jewel tones accented with gold foil, perfect for a sophisticated event.
Ingredients Needed:
- Deep jewel-toned nail polish (emerald, sapphire, ruby)
- Gold foil pieces
- Clear base coat
- Top coat
Steps:
- Apply your jewel-toned base color and allow it to dry.
- Place small pieces of gold foil onto your nails using a toothpick.
- Seal it all with a top coat.
9. Wedding Nail Designs
For brides and bridesmaids alike, soft and elegant designs are perfect. Consider a nude base with delicate white lace details.
Ingredients Needed:
- Nude nail polish
- White nail polish
- Detail brush
- Top coat
Steps:
- Paint your nails with the nude polish and let dry.
- Use a detail brush to paint lace designs with the white polish.
- Seal with a top coat for a lasting finish.
Tips for Success
- Practice: Nail art takes time and practice. Don’t be discouraged by initial attempts.
- Invest in Quality Tools: Good brushes and polishes can make a significant difference in your results.
- Be Patient: Allow each layer of polish to dry before adding another layer or removing tape.
Common Mistakes to Avoid
- Skipping Base and Top Coats: Always use a base coat to protect your nails and a top coat to extend the life of your manicure.
- Rushing the Process: Nail art requires precision. Take your time, and don’t rush through it.
- Ignoring Clean-up: Keep a brush dipped in nail polish remover handy to tidy up edges.
Variations and Customization Ideas
Feel free to experiment with color combinations, textures (like matte vs. glossy finishes), and different nail shapes to personalize your look. Using seasonal colors or themes can also enhance your nail art to match any occasion or mood.
Storage and Shelf Life
If you have leftover polish from your designs, store it in a cool, dark place to maintain quality. Avoid excessive exposure to light and heat, which can cause the polish to thicken or change consistency.
Safety Tips
- Always work in a well-ventilated space, especially when using polishes and removers.
- Be cautious of allergies to nail products; test new items on a small area before application.
- If applying nail art for parties or events, ensure that your designs aren’t in direct contact with any sealant or skin irritants.
Frequently Asked Questions
1. How do I prevent chipping on my nail art?
Using a high-quality top coat and sealing the edges of your nails can help prevent chipping.
2. Can I use regular nail polish for nail art?
Absolutely! Just make sure to have the right tools to create fine lines and details.
3. What do I do if my polish is too thick?
Thin your polish with a few drops of a nail polish thinner to restore a smooth application.
4. How long should I wait between coats?
Waiting at least 5 minutes between coats allows each layer to dry properly, preventing smudging.
5. Can I mix different brands of nail polish?
Yes, as long as they are both lacquer-based or gel-based, mixing brands should not pose issues.
6. How can I remove glitter nails easily?
Soak the nails in acetone remover for a few minutes, then gently rub them to remove the glitter.
Conclusion
Creating beautiful nail designs at home can be a fun and rewarding experience. Whether you’re opting for classic elegance or trendy twists, there are ample nail ideas to inspire your next manicure. Remember to take your time, practice, and most importantly, enjoy the process! Share your creations, and don’t hesitate to explore new designs to keep your nails looking fabulous. Happy painting!