
Cute Gifts That Wow: Candle Making for Everyone
Are you ready to become the gift hero in your circle? Homemade candles are not only delightful and aromatic, but they also serve as thoughtful gifts for any occasion. Imagine gifting someone a beautifully scented candle that invokes nostalgia and creates a cozy ambiance! In this guide, we’ll walk you through making charming candles at home, using simple ingredients and techniques that anyone can master.
Why You Will Love This Recipe
Making your own candles brings a sense of pride and creativity that store-bought candles simply can’t match. Not only do they fill your home with pleasing aromas, but they also allow for personalization in terms of scents, colors, and packaging. Candle-making can be a calming experience and, with the right guidance, it becomes effortless. Let’s set the stage for a sweet-scented adventure!
Ingredients
- Wax Type: 2 pounds of soy wax (recommended for beginners due to its ease of use)
- Fragrance: 1 ounce of your choice of fragrance oil (Cherry or soda scents work wonderfully!)
- Color: Optional candle dye (if you wish to customize the color)
- Wick: Appropriate size cotton or wood wick (depends on the diameter of your container)
- Container: Heat-safe jars (8-12 oz are ideal)
Equipment
- Double boiler or a microwave-safe container
- Thermometer (for monitoring the wax temperature)
- Scale (for accurate measurement of wax and fragrance)
- Stirring utensil (wooden spoon or glass stirrer)
- Wick holder (or a pencil to keep the wick centered)
- Safety gloves (to protect your hands)
Step-by-Step Instructions
Prepare Your Space:
- Clear a large working area and lay down newspaper or old cloth for easy cleanup.
- Gather your tools and materials.
Melt the Wax:
- Using a double boiler, fill the bottom pot with water, and place the soy wax in the top pot. Alternatively, you can melt the wax in a microwave-safe container in short bursts (30 seconds).
- Monitor the temperature until the wax reaches about 185°F. This is the ideal temperature for mixing fragrance oil.
Add Fragrance and Color:
- Remove the melted wax from heat and add your fragrance oil. Stir thoroughly for about 2 minutes.
- If you’re using dye, add it incrementally until you achieve your desired color and stir until fully blended.
Prepare the Wick:
- While the wax cools to about 135°F, secure the wick in the center of your container. You can use a wick holder or rest the wick on a pencil placed across the top of the jar.
Pour the Wax:
- Carefully pour the wax into the prepared container, ensuring that the wick stays centered. Leave a small amount of wax for topping off later if necessary.
Cooling and Curing:
- Allow the candle to cool completely at room temperature. This may take several hours.
- Once hardened, you may need to re-melt and add more wax to fill any sinkholes.
Trim the Wick:
- Once fully set, trim the wick to about 1/4 inch above the wax surface.
Tips for Success
- Measure Accurately: Use a scale for ingredients to ensure the right balance of wax, fragrance, and dye.
- Temperature Matters: Always monitor temperature closely when melting wax and adding fragrance.
- Avoid Overheating: Do not overheat the wax to avoid compromising the fragrance.
Common Mistakes to Avoid
- Incorrect Wick Size: Choosing the wrong wick size can lead to poor burning. Check chart guides based on your container size.
- Skipping Fragrance Testing: Do a small test burn with your chosen fragrance to ensure it throws well when lit.
- Cooling Too Quickly: Rapid cooling can cause cracking. Let your candles cool slowly.
Variations and Customization Ideas
- Layered Candles: Pour layers of different colors and fragrances for visual appeal.
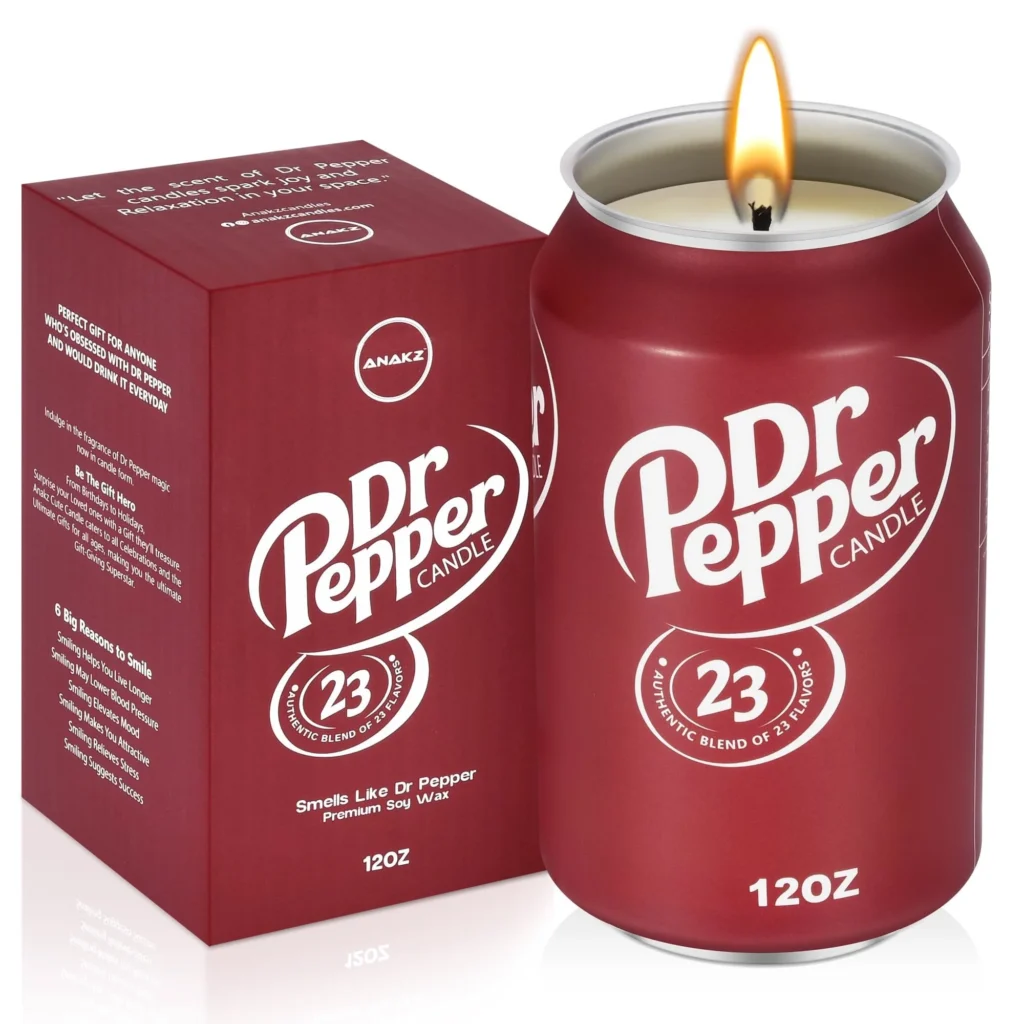
- Scent Mixes: Combine different fragrance oils for unique aromas, such as Cherry Vanilla or Soda Pop fizz.
- Add-ins: Include dried flowers or herbs for an elegant touch (ensure they are safe to burn).
Storage and Shelf Life
Store your finished candles in a cool, dry place away from direct sunlight. Properly stored, they can last up to 1-2 years. Keep them in airtight containers for maximum fragrance retention.
Safety Tips
- Always work in a well-ventilated area when melting wax.
- Handle hot wax with care to avoid burns.
- Keep flammable materials away from your work area to ensure safety.
Frequently Asked Questions
Q1: Can I use any type of wax?
A: While there are various types, soy wax is great for beginners due to its ease of use and clean burn.
Q2: How do I choose a fragrance oil?
A: Choose based on personal preference or consider seasonal scents, like cinnamon for winter holidays.
Q3: What if my candle doesn’t smell strong enough?
A: Ensure you add fragrance at the right temperature. About 1 ounce of fragrance per pound of wax is a good guideline.
Q4: How long should I let my candles cure before burning?
A: Allow candles to cure for at least 48 hours for the best scent throw.
Q5: Can I reuse old candle containers?
A: Yes! Clean them thoroughly and ensure they are heat-safe before reuse.
Conclusion
Homemade candles are a perfect way to bring joy into your home or gift that warmth to a loved one. With endless customization and creative options, you can truly express yourself through scent and style. So gather your supplies, embrace this charming craft, and let your creativity shine. Start making your cute gifts today, and relish the joy they bring!