
Reliable Cold Process Soap Recipes for Beginners and Professionals Alike
Making your own cold process soap can be an incredibly satisfying DIY project. Not only do you get to craft your own unique bars, but you can also customize them to suit your skin’s needs, making this a perfect endeavor for anyone interested in handmade soap or natural skincare lines. This article will guide you through reliable cold process soap recipes that yield hard, long-lasting bars with rich lather, suitable for personal use or for selling.
Why You Will Love This Recipe
Cold process soap making is a traditional technique that allows for complete control over the ingredients you use, ensuring a natural product free from artificial additives. By experimenting with various oils, lye, and natural colorants and scents, you can create beautiful soaps tailored to your preferences! Plus, the satisfaction of crafting handmade soap makes it a rewarding creative outlet.
Ingredients
For your cold process soap, you’ll need:
- Olive Oil: 16 ounces (provides moisturizing properties)
- Coconut Oil: 8 ounces (creates lather and hardness)
- Palm Oil: 8 ounces (adds firmness)
- Castor Oil: 4 ounces (enhances lather)
- Lye (Sodium Hydroxide): 4.2 ounces (necessary for saponification)
- Water: 12 ounces (distilled is best)
- Essential Oil (optional): 1-2 ounces (for fragrance)
- Colorants (optional): Natural colorants like turmeric, spirulina, or mica powder
Equipment
Before you get started, gather the following equipment:
- Safety goggles
- Gloves (preferably rubber)
- Digital scale
- Mixing bowl (stainless steel or heat-resistant)
- Stick blender (or hand whisk)
- Thermometer (preferably digital)
- Soap mold (silicone molds work well)
- Measuring spoons
- Spatula
- Apron
- Well-ventilated area for working with lye
Step-by-Step Instructions
Follow these simple steps to create your cold process soap:
Prepare Your Workspace: Ensure your workspace is clean and well-ventilated. Put on your safety goggles and gloves.
Measure Ingredients: Using your digital scale, measure out the oils, lye, and water accurately. Always add lye to water (not the other way around) to avoid dangerous reactions.
Create Lye Solution:
- Carefully pour the lye into the measured water while stirring gently. The mixture will heat up and emit fumes. Let it cool until it reaches around 100-110°F.
Melt Oils: In a separate container, melt your solid oils (coconut and palm oils) on low heat. Once melted, combine them with the liquid oils (olive and castor). Allow the oils to cool to a similar temperature as the lye solution.
Combine Lye and Oils: Once both mixtures are about the same temperature, slowly pour the lye solution into the oils while using a stick blender to mix. Blend until you reach "trace," a consistency where the soap leaves a trail when drizzled on its surface.
Add Fragrance and Color: If desired, add your chosen essential oils and colorants at this stage, blending gently to combine.
Pour into Molds: Carefully pour the soap batter into your molds, smoothing the top with a spatula if necessary.
Insulate and Cure: Cover the molds with a towel to insulate. Let the soap sit for 24-48 hours until hard enough to remove from molds.
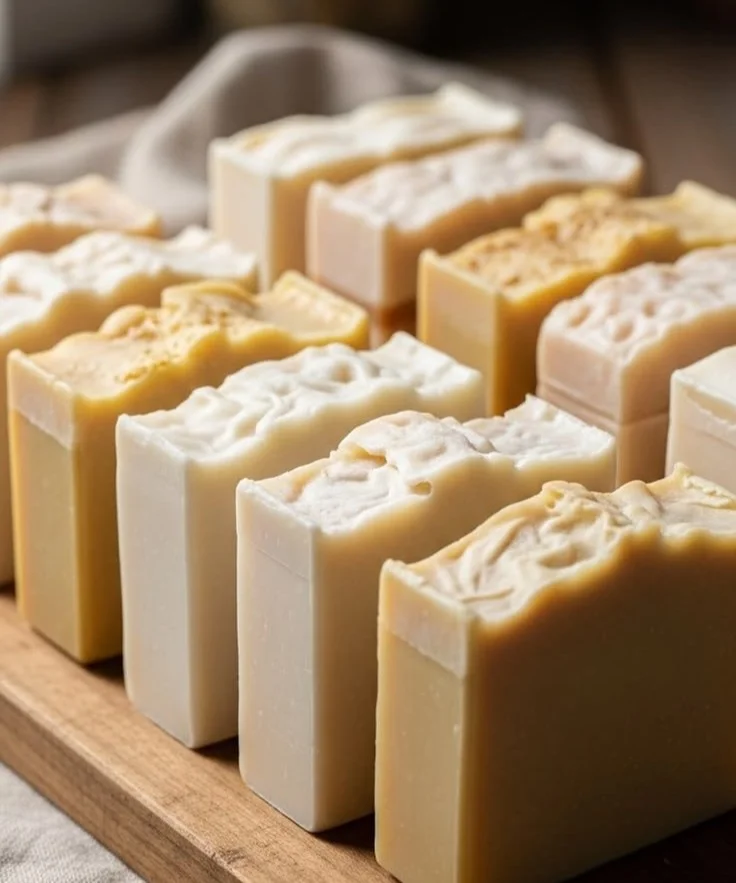
Cut and Cure: Once removed from molds, cut the soap into bars and allow them to cure in a cool, dry place for 4-6 weeks.
Tips for Success
- Use a Reliable Soap Calculator: Calculate lye proportions based on your oils’ weights, ensuring safety and proper saponification. Websites like SoapCalc are excellent resources.
- Stick to the Recipe: Especially as a beginner, try to follow the recipe exactly before experimenting with substitutions or additives.
- Temperature Matters: Keep an eye on temperatures. Ideally, both the lye solution and oils should be around 100-110°F to facilitate an optimal emulsification process.
Common Mistakes to Avoid
- Improper Lye Handling: Always wear gloves and goggles, and work in a well-ventilated area to avoid inhalation. Remember to have vinegar on hand as a neutralizer for accidental spills.
- Skipping the Safety Gear: Never skip safety equipment; lye is caustic and can cause burns.
- Not Measuring Accurately: Use a digital scale for precise measurements—accuracy is key to successful soap making.
Variations and Customization Ideas
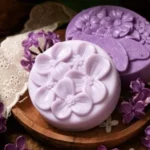
- Floral Soaps: Substitute your essential oil with floral varieties such as lavender or geranium for a soothing scent.
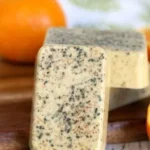
- Exfoliating Add-ins: Try adding oatmeal, coffee grounds, or poppy seeds for gentle exfoliation.
- Colorful Swirls: Use a spoon or chopstick to create a swirl effect with different colored soap batters before it sets.
Storage and Shelf Life
Store cured soap bars in a cool, dry place to avoid moisture. They typically have a shelf life of 1-2 years, but you’ll likely use them before that! Keep them wrapped to maintain their freshness.
Safety Tips
- Use Protective Gear: Always wear gloves and safety goggles when working with lye.
- Work in a Ventilated Area: Ensure adequate ventilation to avoid inhaling fumes.
- Keep Supplies Out of Reach: Store lye and other ingredients away from children and pets.
Frequently Asked Questions
Why is my soap sweating?
- This occurs when glycerin, a natural byproduct of saponification, draws moisture from the air. Store soap in a low-humidity area or wrap them in wax paper.
Can I use any oils for soap making?
- Not all oils are suitable for soap making. Stick to oils that have proven saponification values, such as olive, coconut, palm, and castor oils.
What is the trace in soap making?
- Trace refers to the moment the soap mixture thickens enough to leave a trail when drizzled. It’s an indication that the oils and lye have emulsified.
Can I add color to my soap?
- Yes! You can use either natural colorants or cosmetic-grade fragrances. Ensure they are soap-safe.
How can I tell when my soap is ready to use?
- Soap should be allowed to cure for at least 4-6 weeks before use to ensure all lye has saponified and it reaches a proper hardness.
Conclusion
Cold process soap making is a fulfilling activity that allows you to create something beautiful and functional. By following these reliable recipes and tips, you can produce high-quality bars perfect for yourself or as special gifts. Embrace your creativity, explore different ingredients, and let your soap making journey begin! Happy crafting!