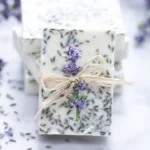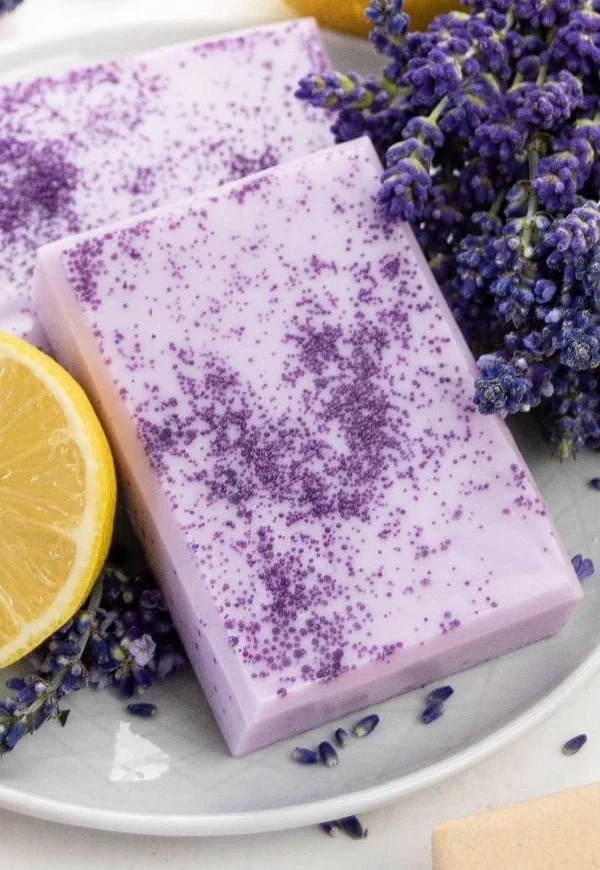

Imagine This
Picture this: you’ve had a long day, and all you want is a moment of calm. As you sink into the comforting warmth of your bath, there’s a soft scent of lavender swirling in the air. It’s tranquil, soothing, and oh-so-luxurious. You might be wondering, how can you recreate this blissful experience at home? Well, I’ve got the perfect solution for you: making beautiful DIY honey lemon lavender soap bars! These delightful bars aren’t just a feast for the senses; they’re also packed with skin-loving ingredients. Let’s dive into this easy and gratifying project that’ll elevate your self-care routine. You may also find Easy Homemade Eucalyptus Candle Recipes For Calm Moms useful.
The Magic of Honey Lemon Lavender Soap
If you’ve ever felt overwhelmed by commercial soaps filled with artificial fragrances and harsh chemicals, you’re not alone. We’ve all been there, yearning for something more natural and beneficial for our skin. What if I told you that making your own soap can be simple and incredibly satisfying? With just a few ingredients—goat’s milk or shea butter as a base, along with the addition of honey, lemon, and lavender essential oils—you can whip up your very own soap bars right at home. You may also find Easy Steps Cozy Homemade Candles Giftable Moments useful.
If you want to spruce up your soap-making vibe, you might explore some creative lavender candle hacks as well while you’re at it. They perfectly complement the soothing ambiance of homemade soap!
Why Go Homemade?
Homemade soap not only allows you to control the ingredients, but it’s also a beautiful way to express your creativity. Plus, DIY soap bars make fantastic gifts! Imagine presenting a beautifully wrapped package, filled with something you handcrafted with love. It’s the perfect gesture for a friend’s birthday, a housewarming, or just to say “I’m thinking of you.”
Gather Your Ingredients and Tools
Before we jump into the step-by-step process, let’s ensure you have everything you need:
Ingredients
- Soap Base: You can choose goat’s milk or shea butter soap base—both are moisturizing and great for dry skin.
- Honey: It adds skin-nourishing properties and a gentle sweetness.
- Essential Oils: Use lavender essential oil for its calming properties and lemon essential oil for a refreshing scent.
- Colorants (optional): Natural colorants like spirulina or beetroot powder can be added for visual appeal.
Tools
- Soap mold: Silicone molds work best for easy removal.
- Microwave-safe bowl or double boiler for melting the soap.
- Spoon or spatula for mixing.
- Dropper for essential oils.
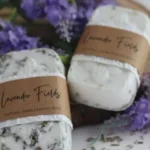
- Labels (printable templates are a great idea!) for wrapping your soap bars.
Step-by-Step Guide to Making Your Soap Bars
Step 1: Melt the Soap Base
Start by cutting the soap base into small cubes. This will help it melt evenly. Place the cubes in a microwave-safe bowl, and heat them in short intervals—about 30 seconds at a time. Stir in between until the soap is completely melted.
Step 2: Add Honey and Essential Oils
Once your soap base is melted, it’s time to amp up the nourishment. Stir in a few tablespoons of honey (to your preference) and a few drops of lavender and lemon essential oils. The combination of these scents is heavenly!
Step 3: Incorporate Colorants
If you want to get creative, this is the moment to add colorants. Mix them in gently until you achieve your desired shade. Incorporating color can make your soap visually stunning and adds a bit of fun to the process.
Step 4: Pour Into Molds
Carefully pour your soap mixture into the molds. Take your time to fill them smoothly, ensuring no air bubbles are trapped. If you have any leftover soap mixture, you can keep it in a separate container for future use!
Step 5: Allow to Set
Let the soap cure at room temperature for a few hours, or place it in the refrigerator to speed up the process. Once hardened, carefully pop the soap out of the molds.
Step 6: Wrap and Gift
Finally, wrap your handmade soap bars with labels to add a personalized touch. Don’t forget to mention the benefits of the ingredients on the label—a nice touch for the recipient!
Tips for Successful Soap Making
To make your soap-making journey smooth and enjoyable, here are some helpful tips:
- Avoid Overheating: Keep an eye on the soap base while melting to avoid burning it.
- Be Cautious with Fragrance Oils: Use them sparingly; a little goes a long way.
- Experiment with Additives: Want to add some dried lavender buds or lemon zest? Go for it! Just be sure they’re compatible with your soap base.
Common Mistakes to Avoid
- Too Much Color: While adding color can be fun, too much can make the soap look muddled. Stick to a few drops and mix well.
- Skipping the Scent Test: Always test a small amount of your essential oil blend before making the full batch. This ensures you love the scent!
- Rushing the Curing Time: Patience is a virtue in soap making. Ensure your soap is fully set for the best results and texture.
Bonus Self-Care Ideas
Making soap can be a delightful way to wind down, but here are a few more self-care practices you might enjoy:
- Create a cozy corner in your home for relaxation, complete with candles and comfortable seating.
- Dedicate a little time to journaling—writing can often help clarify thoughts and bring about a sense of peace.
- Engage in a gentle yoga session or meditation to enhance your relaxation during the soap-making process.
Conclusion
Now you know how to create beautiful, scented DIY honey lemon lavender soap bars that will delight your senses and pamper your skin. The joy of a homemade product is unmatched, especially when it’s crafted just for you or a loved one. As you embrace this rewarding activity, why not explore more delightful recipes? You can check out an intriguing Lavender Soap DIY Recipe, discover an Easy Homemade Lavender Soap Recipe that requires no lye, or browse a simple Lavender Soap Recipe for more inspiration. Happy soap making!