
Learn to Make Homemade Beeswax Candles with Clove and Orange Essential Oils!
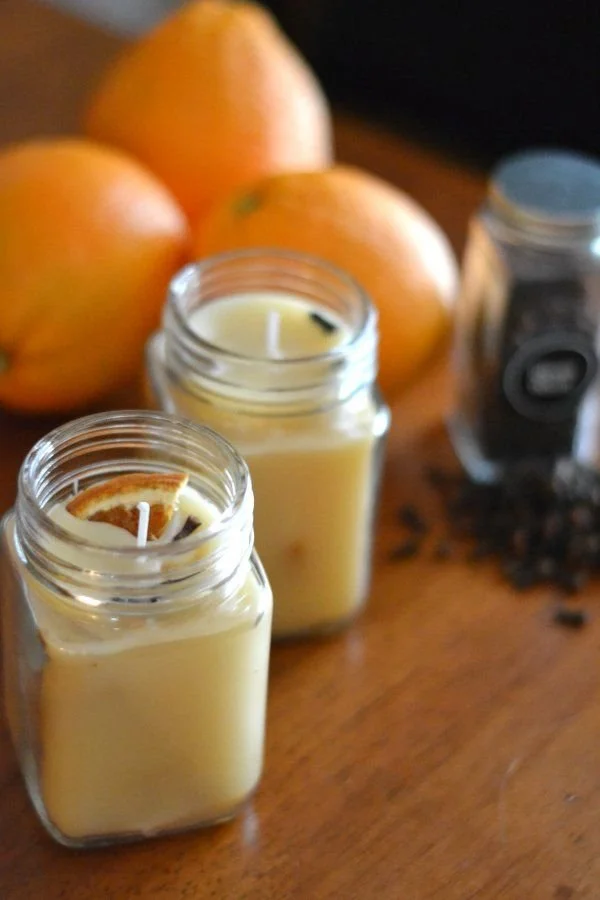
Are you looking for a cozy and fragrant way to embrace the beauty of fall? Making your own homemade beeswax candles infused with clove and orange essential oils is a delightful DIY project that fills your home with warmth and cheer. Plus, these candles are non-toxic and easy to make! Let’s dive in and learn how to create your own.
Why You Will Love This Recipe
- Natural Ingredients: Beeswax candles are free from chemicals and synthetic fragrances, making them a safer option for your home.
- Soothing Scents: The aroma of clove and orange essential oils perfectly encapsulates the essence of fall, creating an inviting atmosphere.
- Easy to Make: Whether you are a novice or a seasoned DIY enthusiast, this candle-making project is straightforward and rewarding.
- Perfect Gifts: Handmade candles make wonderful, thoughtful gifts for family and friends, especially during the festive season.
Ingredients
To create your homemade beeswax candles, you will need the following ingredients:
- Beeswax Pellets: 1 pound (approximately 450 grams)
- Clove Essential Oil: 10-15 drops
- Orange Essential Oil: 10-15 drops
- Candle Wicks: (one for each candle you intend to make)
- Optional: Dyes (if you want to color your candles)
Equipment
Make sure you have the following equipment ready:
- Double boiler or a heat-safe bowl over a pot of boiling water
- Thermometer (optional, but helpful for monitoring wax temperature)
- Stirring utensil (wooden spoon or silicone spatula)
- Candle containers (glass jars, metal tins, or silicone molds)
- Wick holders (to keep wicks centered)
- Scale (for precise measurements)
- Safety gloves (optional, for handling hot materials)
Step-by-Step Instructions
Preparation Time and Yield
- Preparation Time: 15 minutes
- Making Time: 30 minutes
- Approximate Yield: Four 8-ounce candles
Instructions
Prepare Your Workspace: Start by laying down newspaper or a protective cloth to catch any spills. Make sure your containers are clean and dry.
Measure the Wax: Weigh out 1 pound of beeswax pellets using a scale. This will yield about four 8-ounce candles.
Melt the Beeswax:
- Set up your double boiler or place a heat-safe bowl over a pot filled with water. Make sure the bowl doesn’t touch the water.
- Add the beeswax pellets to the bowl and heat over medium heat, stirring occasionally. Monitor the temperature to avoid overheating (the ideal melting point is around 145°F / 63°C).
Add Essential Oils: Once the beeswax is melted, remove it from heat. Let it cool slightly (to about 130°F / 54°C), then stir in 10-15 drops of clove essential oil and 10-15 drops of orange essential oil. Adjust the quantity based on your fragrance preference.
Prepare the Wick: Secure the wick in the center of your containers using a wick holder (this can be a simple clothespin or a specialized wick holder), ensuring it stays upright while you pour the wax.
Pour the Wax: Carefully pour the melted beeswax into your prepared containers, leaving about half an inch of space at the top.
Set and Cure: Allow the candles to cool and set completely, which may take a few hours. For the best scent throw, let the candles cure for at least 48 hours before using them.
Trim the Wick: Once the candles are fully set, trim the wick to about 1/4 inch above the wax.
Tips for Success
- Choose the Right Wicks: Make sure to select wicks that suit the size of your containers. A general recommendation for beeswax candles is to use a cotton wick that’s about 1/8 inch in diameter for every 4 ounces of wax.
- Monitor the Temperature: Be careful not to overheat the beeswax, as it can burn. A thermometer can help maintain the right temperature.
- Experiment with Fragrance Combinations: Don’t hesitate to play with other essential oils like cinnamon or nutmeg to complement your autumnal theme!
Common Mistakes to Avoid
- Using Too Much Fragrance: Adding excessive essential oils can cause the candle to burn poorly or smoke. Stick to the recommended amounts.
- Pouring Too Fast: Pouring wax too quickly can create air bubbles and a poor finish. Pour slowly and steadily.
- Not Allowing for Cure Time: Skipping the curing stage can affect how well your candle burns and the strength of its scent.
Variations and Customization Ideas
- Coloring Your Candles: If you want to add a pop of color to your candles, consider using natural dyes suitable for beeswax. You can add them while melting the wax for even distribution.
- Layered Candles: Create layers of different scents by pouring one layer and allowing it to set before pouring the next.
- Decorative Elements: You can add dried flowers or herbs to the top of your candles for a rustic aesthetic.
Storage and Shelf Life
Store your finished beeswax candles in a cool, dry place, away from direct sunlight. Properly stored, these candles can last for several years, although the scent may fade over time.
Safety Tips
- Always work in a well-ventilated area when melting wax and using essential oils.
- Never leave melting wax unattended to prevent fire risk.
- Avoid using synthetic fragrances, which can release harmful chemicals when burned.
Frequently Asked Questions
1. Can I use other types of wax?
Yes, you can experiment with soy wax or paraffin, but be aware that each type may require different wick sizes and handling techniques.
2. What’s the best way to clean up any spills?
If you spill wax, allow it to cool and harden, then carefully chip it away from surfaces. For fabric, heat residual wax with a hairdryer to absorb it into paper towels.
3. How long do homemade beeswax candles burn?
Beeswax candles can burn up to five times longer than traditional candles. The actual burn time depends on the size of the candle and wick placement.
4. How can I adjust the strength of the scent?
Simply adjust the number of drops of essential oil used. More drops mean a stronger scent, while fewer drops result in a milder fragrance.
5. What’s the best way to ensure my candles burn evenly?
Use the right wick size, pour the wax at the correct temperature, and allow your candles to cure properly.
Conclusion
Making homemade beeswax candles infused with clove and orange essential oils is a rewarding project that brings the delightful scents of fall into your home. Not only do these candles create a warm ambiance, but they also serve as thoughtful gifts for loved ones. Get started on this DIY adventure, and enjoy the cozy atmosphere your handmade candles will create! Happy crafting!