
Let’s Make Artisan Soaps at Home Together
Imagine coming home after a long day, feeling a little drained but knowing you’ve got a delightful self-care ritual waiting for you. You pour yourself a relaxing cup of tea, put on your favorite music, and as you walk into your cozy workspace, the charming smell of essential oils envelops you. You’re about to embark on a creative journey of making artisan soaps right in your very own home. Sound familiar? If you’ve ever toyed with the idea of crafting your products, or if the idea of making something beautiful and functional excites you, this practical, beginner-friendly course is exactly what you need.
Let’s dive into the world of soap making, explore the fundamentals of choosing the right ingredients, and discover how this beautiful hobby could even blossom into a home-based business opportunity.
Choosing Ingredients for Your Artisan Soaps
When starting out, it’s crucial to select high-quality ingredients that not only nourish your skin but also align with your aesthetic preferences. Here’s a list to help you create a wonderful base for your soaps:
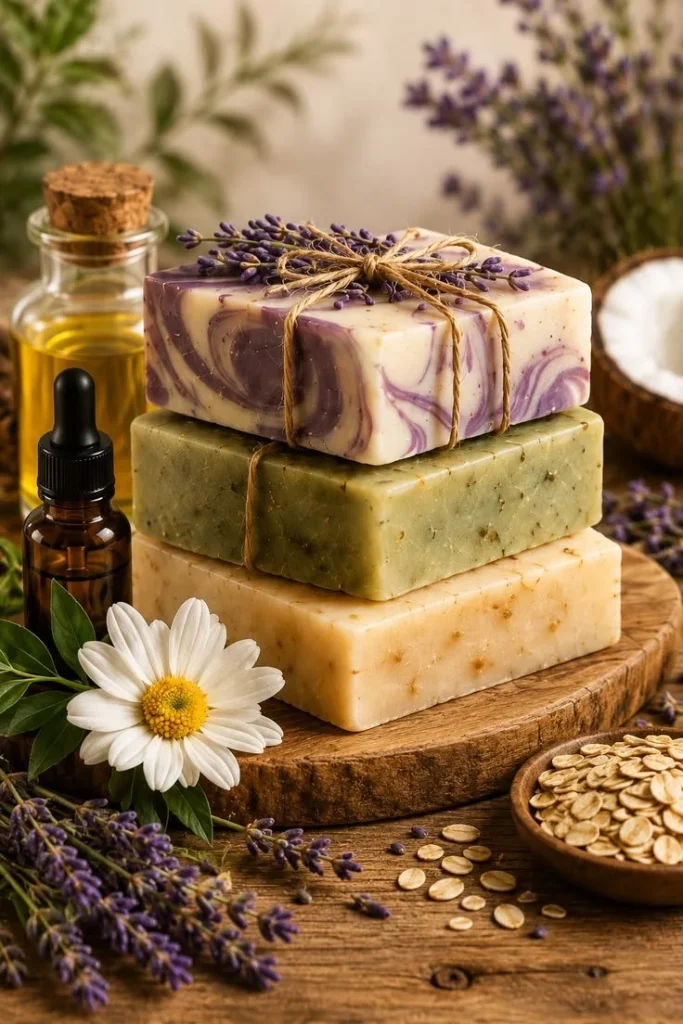
- Oils and Butters: Coconut oil, olive oil, shea butter, and cocoa butter are all excellent choices. They each have unique properties, so it’s worth experimenting with combinations to find your perfect blend.
- Lye: This is a key ingredient in the saponification process, which turns your oils into soap. Handle ly safely and ensure you wear gloves and goggles.
- Colorants: Natural colorants, such as turmeric for yellow or spirulina for green, can create stunning visuals while keeping your soap all-natural.
- Essential Oils: Not only do they provide lovely fragrances, but they also offer aromatherapy benefits. Lavender for relaxation, eucalyptus for a refreshing kick, and tea tree oil for its antibacterial properties are popular choices.
You might be wondering, “How do I know what combinations are best?” Don’t worry! This course comes with an ingredient manual that takes the guesswork out of it for you.
Organizing Your Formulations: The Key to Success
One of the most important steps in soap making is organization. As we juggle life’s demands, a little structure can go a long way in turning a daunting task into an enjoyable project. Here’s how to keep everything neat and tidy:
- Formulation Worksheet: This handy tool will help you jot down your ideas, record ingredient ratios, and track any adjustments you make during the process.
- Cost Template: Knowing your expenses upfront not only helps with budgeting but is also crucial if you plan to sell your soaps. Outline costs per ingredient, packaging, and promotional materials.
- Batch Size: Determine how many bars you want to create at once. Start small to avoid overwhelming yourself—plus, you can always scale up later!
Picture this: you set aside a cozy afternoon to create your first few batches, and as you gain confidence, you begin to experiment with new techniques and signature scents.
Step-by-Step Guide to Creating Your Natural Soaps
Ready to get started? Let’s break down the soap-making process step by step. You’ll conjoin artistic creativity with practical skills, leading to an incredibly satisfying outcome.
Step 1: Gather Your Materials
Before you start, prepare everything you need:
- Ingredients from your selected list
- Soap mold (silicone works wonders)
- Mixing bowls
- Stick blender
- Scale for precise measurements
- Thermometer
Step 2: Safety First
Make sure you’re equipped with your safety gear—gloves and goggles—because lye can be hazardous if not handled properly. Always work in a well-ventilated area.
Step 3: Measure and Mix
Weigh your lye and distilled water carefully. Pour the lye into water (never the other way around), stirring until dissolved. This mixture will heat up, so let it cool to about 100-110°F before combining it with your oils.
Step 4: Combine Oils
In another bowl, measure your chosen oils and butters. Gently heat them until melted (but don’t boil). Once cooled to 100-110°F, slowly mix in your lye solution.
Step 5: Blend to Trace
With your stick blender, mix the oils and lye until it reaches “trace”—that’s the point where the mixture thickens enough to hold a trail when drizzled on the surface.
Step 6: Add Fun Extras
This is where the magic happens! Add your essential oils, colorants, exfoliants, or any other stir-ins to create your unique blend.
Step 7: Pour into Molds
Carefully pour the mixture into the molds. Tap gently to eliminate air bubbles, and then cover with a towel to retain heat.
Step 8: Cure the Soap
Let your soap sit for 24-48 hours. Once hardened, pop it out and cut it into bars. Allow them to cure in a cool, dry place for about 4-6 weeks. This is the moment to let the soap fully saponify and ensure it’s safe for your skin.
Step 9: Enjoy or Share!
You can now enjoy your artisan creations or gift them to friends and family. What if, instead of just sharing with loved ones, you sold your beautiful soaps online or at craft fairs? It’s a fantastic way to turn a hobby into a potential small business.
Helpful Resources Included in the Course
The course isn’t just a step-by-step guide; it’s a treasure trove of valuable resources designed to enhance your experience:
- 50 Soap Formulas: Gain inspiration and try a variety of recipes right from the start.
- Private WhatsApp Group: Connect with fellow soap makers, share experiences, and get answers to your burning questions.
- Guide to Making Natural Creams: Expand your skills even further by transitioning into creams and lotions.
The beauty of this journey is that you can study at your own pace, fitting your new hobby into your busy schedule.
Common Mistakes to Avoid
As you embark on this new adventure, you might encounter some bumps along the way. Here are a few common pitfalls to watch out for:
- Skipping Safety Gear: Always wear gloves and goggles when working with lye. Your safety is the priority.
- Not Measuring Accurately: Precision is key in soap making; don’t free-style it!
- Ignoring Curing Time: Patience is essential. Rushing the process can lead to less-than-perfect results.
Quick Beauty Tips for the Best Results
- Start with small batches to practice and perfect your technique.
- Experiment with different molds to create unique shapes.
- Keep a logbook of your formulations to remember what works well and what doesn’t.
Bonus Self-Care Ideas
While you’re getting creative with your soaps, why not incorporate a few more self-care moments?
- Create a soothing bath routine with your handmade soaps.
- Pair your soap-making journey with relaxing music or an inspiring podcast.
- Treat yourself to a homemade facial mask using natural ingredients.
Conclusion: Unleash Your Creative Potential
Making artisan soaps isn’t just a fun hobby; it’s an empowering journey into creativity and self-care. Whether you’re creating pieces to pamper yourself or gifts to share with your loved ones, you’ll find joy in every step.
Let’s be honest, we all deserve these little moments of creativity to break up the hustle of daily life. So why not invest a little time into a skill that can elevate your self-care routine? Consider this course your ultimate companion on this fulfilling adventure.
Click the link to learn more and start your journey in making artisan soaps from home today. You might find it’s not just about the end product, but about the process of creation, love, and self-expression along the way. Happy soap making!