
A Fun and Safe Way to Make Soap with Kids
Imagine this: a rainy Saturday afternoon, and the kids are bouncing off the walls, desperate for something exciting to do. Sound familiar? Instead of the same old board games or movies, why not turn your home into an enchanting soap-making workshop? That’s right! Making soap is not only a fantastic way to dive into a fun DIY project, but it’s also super easy and safe to do, especially when you skip the lye. Let’s dive right into how you can create beautiful melt and pour soap alongside your little ones while letting your creativity run wild with colors and scents.
Why Melt and Pour Soap is the Perfect Choice
If you’ve ever thought about making soap at home, you’ve probably been deterred by the idea of dealing with lye (sodium hydroxide). Let’s be honest, lye can be intimidating. That’s what makes melt and pour soap the perfect option for families. You don’t have to worry about chemical reactions or burns—just pure, creative fun. What you see is what you get, and it’s good for your skin too!
Benefits of Making Soap Together
- Bonding Activity: Soap making provides an excellent opportunity to bond with your kids. It involves teamwork, laughter, and a splash of creativity.
- Learning Experience: Children can learn about simple chemistry, math (measuring ingredients), and art (choosing colors and designs).
- Encouragement of Creativity: Your home can become a canvas where kids express their creativity by experimenting with colors, scents, and shapes.
- Understanding Self-Care: It’s a fun way to teach kids about self-care and hygiene through the fun medium of soap.
Getting Started with Ingredients and Materials
Before diving into the soap-making miracle, gather the essentials. Here’s what you’ll need.
Basic Ingredients
- Melt and Pour Soap Base: This is typically made from glycerin and can be found in clear or opaque forms. Choose either a shea butter, glycerin, or goat milk base for added benefits to your skin.
- Colorants: Opt for natural colorants like mica powders or even organic dyes if you’re looking for an eco-friendly approach.
- Fragrance Oils or Essential Oils: You can use lavender for a calming soap, or lemon for a refreshing burst. Make sure they’re skin-safe.
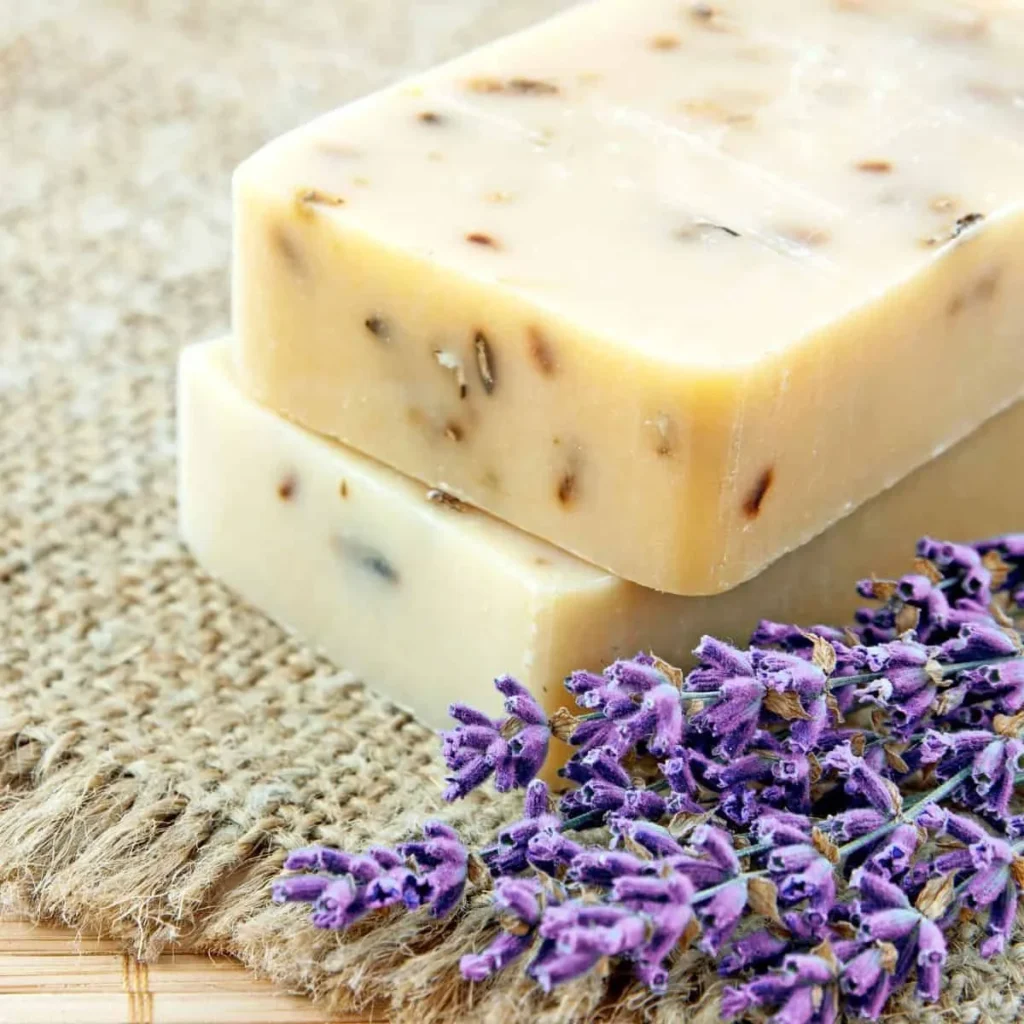
- Additives: Think oatmeal for exfoliation, dried flowers, or even coffee grounds for a lovely texture.
Necessary Equipment
- Microwave-Safe Containers: For melting your soap base.
- Soap Molds: Silicone molds work wonderfully since they make it easy to pop the finished soaps out.
- Mixing Tools: A stir stick or spoon to blend your ingredients.
- Pouring Pitcher: If you want to transfer your melted soap base to the mold without spilling.
- Spray Bottle with Rubbing Alcohol: To remove bubbles that might form on the surface after pouring.
Optional Fun Extras
- Glycerin: To add extra moisture to the soap.
- Honey: For added nourishment and a heavenly scent.
- Labels and Packaging: Get creative with fun labels if you’re planning to gift them!
Step-by-Step Guide to Making Soap Without Lye
Ready to embark on this adventure? Let’s go through the simple steps to make melt and pour soap—safely and easily!
Step One: Prepare Your Workspace
A clean and organized workspace will help your project flow smoothly. Cover your surface with newspaper or a plastic tablecloth for easy cleanup. Lay out all your ingredients and tools so they’re easy to reach.
Step Two: Chop and Melt the Soap Base
Using a knife, cut your soap base into small cubes—think about one-inch pieces. Smaller pieces melt more evenly. Place the cubes into your microwave-safe container.
Step Three: Microwave the Soap Base
Pop the container into the microwave and heat on medium power for 30 seconds to a minute. Keep an eye on it! You want it fully melted but not boiling. Stir to check the consistency, and reheat for an additional 10-15 seconds if needed.
Step Four: Add Colors and Scents
Here’s where it gets fun! Once the soap is melted, you can add your chosen colorant (a little goes a long way) and fragrance. Stir well to combine. You might ask your kids what colors they want—don’t be surprised if they choose every color in the rainbow!
Step Five: Add Extra Ingredients
If you’re interested in adding any exfoliants or nourishing ingredients (like honey or oatmeal), this is the moment. Just fold them in gently to maintain the base’s smooth texture.
Step Six: Pour into Molds
Carefully pour the melted soap mixture into your molds. If you’re working with smaller molds, you could use a pouring pitcher for more precision. Kids love this part, so let them help!
Step Seven: Remove Bubbles
If you see any bubbles on the surface of the poured soap, give it a quick spritz of rubbing alcohol to eliminate them. It’s a fun science lesson for the kids—like a mini-experiment!
Step Eight: Let it Set
Allow your soap to sit undisturbed for about 30 minutes or until completely hardened. If you’re in a hurry, placing them in the fridge can speed up the process. But resist the urge to peek!
Step Nine: Unmold and Enjoy
Once the soap is solid, gently pop them out of the molds. Oh, the joy! Your kids will love seeing their creations take shape.
Step Ten: Package and Share
If you’ve made some extra bars, consider wrapping them up in clear bags or boxes. It’s a lovely idea for gifts for friends and family, or even a lovely gesture for teachers!
Common Mistakes to Avoid
While soap making is relatively straightforward, a few hiccups can still happen. Here are some common missteps and how to avoid them:
- Overheating the Soap Base: This can cause the soap to bubble and become unusable. Always heat in short intervals.
- Not Mixing Properly: If the colorant or fragrance isn’t mixed thoroughly, you might end up with uneven coloring or scent distribution.
- Too Much Additive: Adding too many exfoliants can make the soap gritty. Less is usually more!
Frequently Asked Questions
How long does homemade soap last?
Typically, homemade melt and pour soap can last for about 6 months if stored in a cool, dry place. Keep it away from moisture to prevent it from melting!
Can I use any fragrances?
While many fragrances are fine, always make sure to use those specially designed for soap-making to ensure they are skin-safe.
What if I want to change the shape of my soap?
Silicone molds come in various shapes and sizes, from hearts to geometric designs. Get creative—you can even layer different colors in the same mold!
Can this soap be used on sensitive skin?
If you’re concerned about sensitive skin, always do a patch test with any new ingredient, particularly with essential oils. Opt for gentle ingredients to minimize irritation.
Bonus Self-Care Ideas
Once you’ve got the hang of soap making, why not pair it with other self-care activities? Here are some ideas:
- DIY Bath Bombs: Perfect for a mini spa day!
- Natural Body Scrubs: Easy to make and a great companion to your new soap.
- Essential Oil Blends: Create relaxing scents to use in your home or while bathing.
A Sweet Conclusion
As you can see, making soap with your kids isn’t just about crafting—it’s about creating memories, sparking creativity, and having fun while learning. So the next time you find yourself searching for a rainy day activity, know that soap making might just be the perfect solution. You’ll walk away not just with beautiful bars of soap but with shared giggles, learning moments, and a sweet sense of accomplishment. It’s time to embrace your inner chemist, unleash those creative juices, and make something marvelous. Happy soap making!