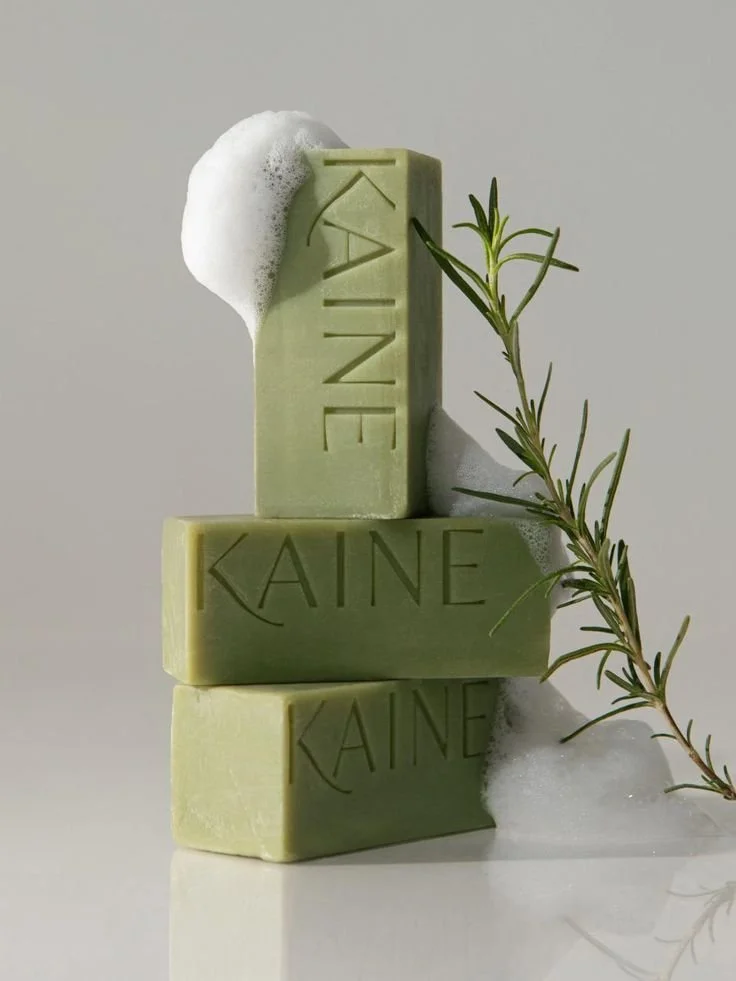

Have you ever wanted to create your own homemade soap that combines luxurious ingredients with effective cleansing properties? This guide will teach you how to make a gentle yet effective low pH cleansing bar using all-natural ingredients like rosemary, known for its antibacterial benefits, especially in combating acne-causing bacteria. This soft, nourishing bar not only cleanses but also maintains your skin’s moisture barrier, making it perfect for daily use, even on sensitive skin types.
Why You Will Love This Recipe
Making your own soap is a rewarding and creative process. You have full control over the ingredients, scents, and aesthetics of your product. This recipe is not only effective at keeping your skin clean and clear of breakouts, but it also offers a calming and indulgent spa-like experience in the comfort of your home. Plus, you’ll be crafting a product that’s free from harmful chemicals typically found in commercial cleansers.
Ingredients
To create approximately 6 bars of this gentle soap, you will need the following ingredients:
- 15 ounces (425 g) of olive oil – a great moisturizing base for soap.
- 10 ounces (285 g) of coconut oil – helps in creating a bubbly lather.
- 5 ounces (140 g) of shea butter – nourishes and softens the skin.
- 1.5 ounces (42 g) of rosemary essential oil – offers antibacterial properties and a refreshing scent.
- 4.7 ounces (133 g) of lye (sodium hydroxide) – necessary for saponification, but handle with care!
- 12 ounces (340 g) of distilled water – used to dissolve the lye.
Important Notes on Lye
Lye, or sodium hydroxide, is a caustic substance that can cause severe burns. It’s critical to follow safety guidelines:
- Use gloves and goggles to protect your skin and eyes.
- Work in a well-ventilated area to avoid inhaling fumes.
- Always add lye to water, never water to lye, to prevent any violent reactions.
Equipment
You will need the following equipment for safe and effective soap-making:
- Digital Scale – for accurate ingredient measurements.
- Heat-Resistant Container – to mix lye and water.
- Stainless Steel or Glass Bowl – to mix oils.
- Stick Blender – for emulsifying your oils and lye mixture.
- Soap Mold – for shaping the soap bars.
- Thermometer – to monitor temperatures.
- Protective Gear – gloves, goggles, and a mask.
Step-by-Step Instructions
Step 1: Prepare Your Work Area
Ensure your workspace is clean and organized. Lay out all your ingredients and equipment within reach.
Step 2: Mix the Lye Solution
- In your heat-resistant container, carefully measure out 12 ounces of distilled water.
- Slowly add 4.7 ounces of lye to the water (never the other way around) while stirring gently with a stainless steel spoon. The mixture will heat up and produce fumes; avoid inhaling directly. Set aside to cool.
Step 3: Prepare the Oils
- In your bowl, measure and combine 15 ounces of olive oil, 10 ounces of coconut oil, and 5 ounces of shea butter.
- Heat this mixture gently on low heat until fully melted, then allow it to cool to around 100-110°F (38-43°C).
Step 4: Combine Lye and Oils
- Once both the lye solution and oils are at the right temperature, slowly pour the lye solution into the oils.
- Use the stick blender to blend the mixture until it reaches a light trace, which is when the soap starts to thicken, leaving a light trail on the surface.
Step 5: Add Essential Oils
- Add 1.5 ounces of rosemary essential oil to your mixture.
- Blend again until thoroughly combined.
Step 6: Pour into Mold
- Pour the soap mixture into your mold, smoothing the top with the back of a spoon.
- Cover the mold with a towel or plastic wrap to insulate it.
Step 7: Cure the Soap
- Let the soap sit in the mold for 24-48 hours until it hardens.
- Once hardened, carefully remove it from the mold and cut it into bars.
Step 8: Cure the Bars
- Place the soap bars on a drying rack or parchment paper, allowing them to cure in a cool, dry place for at least 4-6 weeks. This step is crucial for the soap to become safe to use.
Tips for Success
- Use a reliable soap calculator before making your soap to ensure accurate lye amounts according to the specific oils you’ve chosen.
- Measure with precision using a digital scale for the best results.
- Keep notes on your process to refine your technique in future soap-making endeavors.
Common Mistakes to Avoid
- Failing to wear protective gear – always prioritize safety when working with lye.
- Not measuring accurately – discrepancies in weight can lead to poor saponification or a soap that’s too harsh.
- Skipping the curing process – using soap too early can cause skin irritation.
Variations and Customization Ideas
- Swap out rosemary essential oil for other favorite scents like lavender or tea tree oil.
- Add skin-loving ingredients such as oatmeal or dried herbs for texture and additional benefits.
- Experiment with different oils, like almond or avocado oil, for varying properties.
Storage and Shelf Life
Once fully cured, store your soap bars in a cool, dry place away from direct sunlight. They can last up to 12 months, although their scent may fade over time.
Safety Tips
- Keep all soap-making materials out of reach of children and pets.
- Always perform a patch test before using any new soap to ensure no allergic reactions occur.
- Be cautious while handling lye, as it is a hazardous substance.
Frequently Asked Questions
1. Can I use different oils in this soap recipe?
Yes! Simply replace oils in the recipe with oils that have similar saponification values for similar results.
2. What should I do if my soap doesn’t harden?
If your soap remains too soft, it might be due to incorrect lye measurements. Allow it to cure longer, or use a soap calculator to adjust your recipe.
3. Is it necessary to use essential oils?
No, essential oils are optional. You can omit them for an unscented version or use unscented additives instead.
4. Can I use colorants in my soap?
Absolutely! Natural colorants like clays, spirulina powder, or vegetable powders can be added during the mixing process for visual appeal.
5. How do I know when my soap is safe to use?
Properly cured soap should not feel lye-heavy or have a harsh scent. After approximately 4-6 weeks, it should feel firm and pleasant to the touch.
Conclusion
Making your own low pH cleansing bar soap is both an enjoyable and fulfilling DIY project. By utilizing natural ingredients like rosemary and customizing your bar, you can create a unique and gentle cleansing product tailored to your skincare needs. Follow these steps, keep safety in mind, and you’ll soon enjoy the benefits of your handiwork. So gather your ingredients, pull on those gloves, and start your soap-making adventure today!