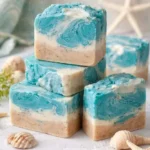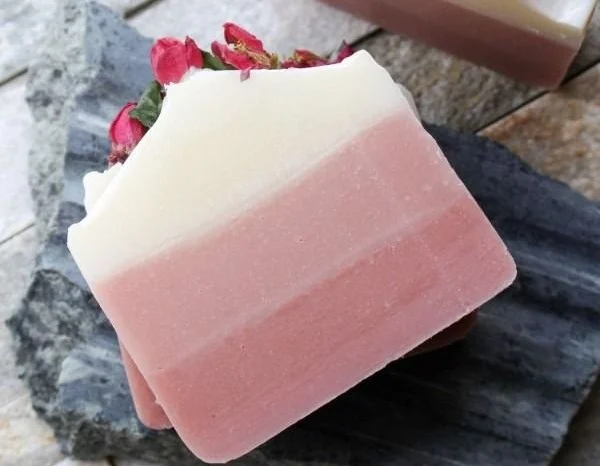

Discover the Art of Soap Making with Step-by-Step Instructions
Imagine coming home after a long day, sinking into your couch with a steaming cup of herbal tea, and indulging in a little self-care. You take a deep breath and think about how lovely it would feel to treat yourself with a bar of beautifully crafted soap, one that’s infused with your favorite scents and nourishing ingredients. Sounds dreamy, right? Well, here’s the truth: you can absolutely create your own soap right at home!
You might be wondering, “Where do I even start?” Don’t worry; I’ve got you covered with a straightforward guide and a free printable checklist to navigate the soap-making process like a pro.
Why Make Your Own Soap
Before diving into the step-by-step instructions, let’s chat about why making your own soap is such a rewarding journey. It’s not just about having something pretty for your bathroom or kitchen; it’s about crafting something that’s uniquely yours. Here are a few perks of DIY soap:
- Customizable Scents: You control the aromas! Do you love lavender? Go for it! Or perhaps citrus invigorates your soul? You can mix and match to create your signature blend.
- Natural Ingredients: By making soap at home, you choose every ingredient. No more worrying about mysterious chemicals—just soothing oils and botanical goodness.
- Gifts from the Heart: Handmade soaps are thoughtful gifts for friends and family. They show you care, and who doesn’t love a pampering surprise?
- Sustainable Choices: Let’s face it, packaged soaps often come with excess plastic waste. Making your own can minimize that and help you embrace greener practices.
Step-by-Step Soap Making Instructions
Now that we’re clear on the “why,” let’s roll up our sleeves and get started! Here’s your step-by-step guide to making your very own soap.
Ingredients and Supplies You’ll Need
- Base Oils: Olive oil, coconut oil, and palm oil are popular choices.
- Essential Oils: For fragrance, think about lavender, tea tree, or eucalyptus.
- Lye (sodium hydroxide): This is essential for the saponification process.
- Distilled Water: Used to dissolve the lye.
- Additives: Dried flowers, oatmeal, or honey for extra texture and benefits.
- Soap Molds: Silicone molds are easy to work with.
- Safety Gear: Gloves and goggles to protect your skin and eyes from the lye.
- Kitchen Scale: For precise measurements.
- Thermometer: To check the temperature of your oils and lye solution.
- Stick Blender: For blending the mixture to trace.
Got your ingredients and supplies? Great! Let’s dive deeper into the process.
Step 1: Gather and Prepare
Before anything else, you need to prep your workspace. Clear off a counter, have all your supplies within reach, and ensure good ventilation. Safety first! Put on your gloves and goggles, as lye can be harmful.
Step 2: Measure Your Ingredients
Using a kitchen scale, measure out your oils, lye, and distilled water. For beginners, it’s crucial to follow a trusted recipe to get the right ratios. Soap making is a science, after all!
Step 3: Mix the Lye and Water
Carefully pour the lye into the distilled water (never the other way around). Make sure to do this in a well-ventilated area as it emits fumes. Stir gently until dissolved, and let it cool to around 100-110°F.
Step 4: Heat Your Oils
In a separate pot, gently heat your oils until they’re melted and combined. They should reach the same temperature as your lye solution. This usually takes about 10–15 minutes.
Step 5: Combine Lye and Oils
Pour the lye solution into the oils and use your stick blender to mix. Blend until you reach "trace,” which means the mixture has thickened enough to leave a trail when dripped from a spoon.
Step 6: Add Essential Oils and Additives
This is where the magic happens! Add your essential oils and any extras like dried flowers or oatmeal. Stir well to combine, ensuring everything is evenly distributed.
Step 7: Pour into Molds
Carefully pour your soap mixture into the molds. Tap them gently to eliminate air bubbles. It’s always exciting to see it come together!
Step 8: Insulate and Cure
Cover your molds with a towel and let them sit undisturbed for 24 hours. This allows the soap to saponify. After a day, remove the soap from the molds and cut it into bars.
Step 9: Cure the Soap
Place your cut bars on a drying rack in a cool, dry area. They should cure for 4-6 weeks. This waiting period might be the hardest part, but so worth it for that final product.
Step 10: Enjoy and Share!
Once cured, feel free to indulge in your beautiful homemade soap. Use it yourself or wrap it up as a thoughtful gift. Just imagine the joy of gifting something handmade and heartfelt.
Quick Beauty Tips for Soap Making
- Use Natural Scents: Always opt for essential oils instead of synthetic fragrances for a healthier choice.
- Experiment with Colors: Add a few drops of natural colorants like spirulina or beet powder for a pop of color.
- Don’t Rush: Soap-making is an art. Rushing through can lead to mistakes. Enjoy the process!
Common Mistakes to Avoid in Soap Making
- Not Wearing Safety Gear: This is crucial, especially when handling lye.
- Miscalculating Ingredients: This can ruin your batch. Always measure accurately.
- Skipping the Cure Time: Don’t be tempted to use the soap too soon—it needs time to mature!
FAQs About Soap Making
Can I use regular kitchen scales?
Yes! Just make sure it measures in grams for more accuracy.
What if my soap doesn’t reach trace?
This can happen if the mixture is too cool. Just warm it a bit and blend until you achieve the desired thickness.
How do I store my soap while it cures?
Store them in a well-ventilated area, like a cool pantry or your bathroom countertop, away from direct sunlight.
Bonus Self-Care Ideas
While you’re diving into the world of soap making, why not explore other DIY pampering projects? You could whip up a body scrub, create homemade bath bombs, or even mix up a rejuvenating facial mask. Each project can be a delightful part of your self-care routine and a wonderful addition to gifts for loved ones.
Best Routine for Busy Women
Now that you’ve crafted your own soap, it’s time to incorporate a little more self-care into your life. Here’s a simple routine:
- Morning: Start your day with a refreshing shower using your homemade soap. Feel the difference in your skin.
- Midday Break: Take a moment for yourself with a cup of herbal tea and reflect on what you’re grateful for.
- Evening Ritual: Wind down with a warm bath using bath salts and follow up with a gentle moisturizer.
Final Thoughts
You’ve successfully navigated the process of making soap from scratch—how empowering is that? Remember, it’s not just about creating something beautiful; it’s about embracing the joy of crafting and the love of self-care. So the next time you feel overwhelmed, consider rolling up your sleeves and diving into another batch of soap.
Just think—your shower could be filled with your custom scents and natural ingredients, bringing a little slice of joy into your daily routine. I hope this guide helps you take that plunge into soap making, and don’t forget to download the free printable checklist to keep you on track! You’re doing amazing, and you deserve every moment of this creative journey.