
Create Your Own DIY Candles With Candle Sand: A Simple Guide
Making homemade candles is a delightful project that not only provides a creative outlet but also results in beautiful décor for your home. This guide will walk you through the process of making candles using candle sand, providing you with all the information you need to get started. Whether you’re a seasoned DIYer or a complete beginner, you’ll find this project both enjoyable and fulfilling!
Why You Will Love This Recipe
Candle making is not just about lighting your space; it’s also a chance to express your creativity. Using candle sand offers a unique texture and beautiful aesthetic. These candles are soot-free, simple to make, and can be customized to fit your home’s style. Plus, you’ll enjoy the warmth and tranquility that filling your home with soft candlelight brings.
Ingredients
To make your candles, you’ll need the following materials:
Basic Candle Ingredients:
- Candle Wax: 10 ounces (choose soy wax or beeswax for a natural option)
- Candle Sand: 1 pound (for decoration)
- Fragrance Oil (optional): Up to 1 ounce
- Dye (optional): For coloring the wax
Container Options:
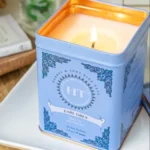
- Heatproof Jars or Cups: Glass jars, metal tins, or ceramic cups (about 8 to 12 ounces capacity)
Wick:
- Candle Wicks: Choose the correct size wick based on the diameter of your container (usually 2 to 3 wicks for larger jars).
Equipment
Here’s what you’ll need:
- Double boiler or microwave-safe container
- Wax thermometer (to monitor wax temperature)
- Stirring stick (like a wooden skewer)
- Pouring pitcher or spout for easy pouring
- Scale (to measure wax and fragrance)
- Safety gloves (for handling hot materials)
- Old newspaper or wax paper (to protect your working surface)
Step-by-Step Instructions
Preparation Time: 15 minutes
Making Time: 1 hour
Approximate Yield: 2 medium candles
- Measure Your Wax: Weigh out 10 ounces of candle wax using your scale.
- Melt the Wax:
- If using a double boiler: Fill the bottom pot partway with water, placing the wax in the top section, and set on low heat until melted.
- If using a microwave: Melt in short bursts of 30 seconds until fully melted, stirring between intervals to ensure even melting.
- Add Fragrance and Dye (if desired): Once melted, remove the wax from heat and allow it to cool slightly before adding 1 ounce of fragrance oil and any dye. Stir well to combine.
- Prepare the Wick: Secure the wick to the center of your container using a glue dot or a few drops of hot glue. This will ensure your wick stays centered as you pour in the wax.
- Pour the Wax: Carefully pour the melted wax into the prepared container, leaving about half an inch from the top.
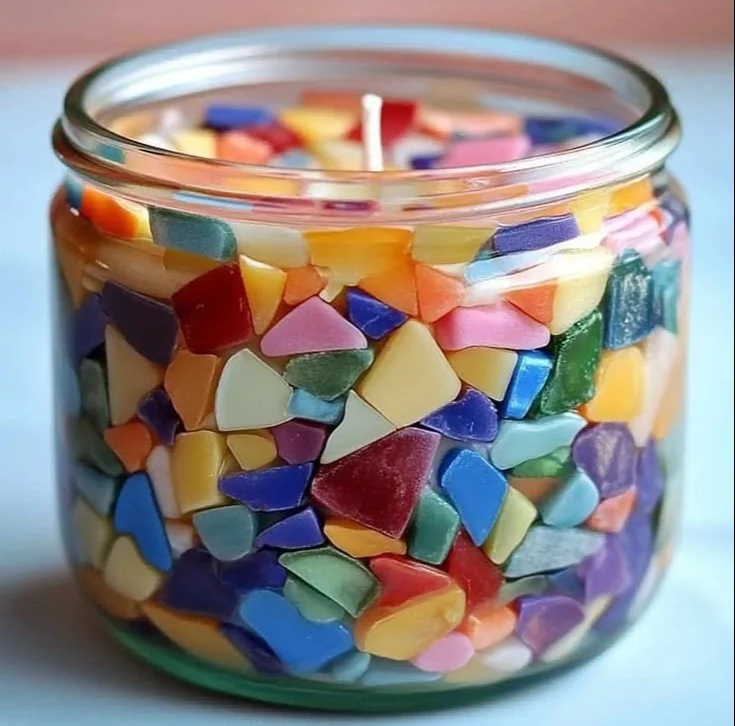
- Add Candle Sand: While the wax is still warm (but not too hot), gently sprinkle the candle sand on top of the wax layer. This adds texture and a beautiful finish.
- Cool the Candle: Let the candles cool at room temperature for 1-2 hours until set completely.
- Trim the Wick: After cooling, trim your wick to about ¼ inch above the wax surface.
- Enjoy Your Candles: Your DIY candles are now ready for use!
Tips for Success
- Temperature Matters: Monitor the temperature of your wax. Ideally, 170-180°F is perfect for adding fragrance oils.
- Test Your Wick: If you’re unsure about which wick to use, test with a small batch to find the right size for your jar.
Common Mistakes to Avoid
- Overheating Wax: Excessive heat can degrade the wax and fragrance.
- Pouring Too Quickly: A quick pour can cause air bubbles, making your candle look less appealing.
- Not Securing the Wick: This can result in the wick tilting, leading to uneven burning.
Variations and Customization Ideas
- Scent Combinations: Mix different fragrances for a unique aroma (e.g., lavender and vanilla).
- Holiday Themes: Use colors and scents that match seasonal themes, like cinnamon for fall.
- Container Choices: Experiment with different shaped or colored containers.
Storage and Shelf Life
Store your finished candles in a cool, dry place, away from direct sunlight. Properly stored, your candles can last for up to two years! However, it is best to use them within 6-12 months for optimal scent.
Safety Tips
- Candle Burning Practices: Always burn candles in a safe environment, on a flat, heat-resistant surface, and away from drafts.
- Handling Hot Wax: Wear gloves when working with melted wax to avoid burns.
Frequently Asked Questions
Can I reuse old candle jars?
Yes, just ensure they are thoroughly cleaned and free of wax residue before use.What’s the difference between soy wax and beeswax?
Soy wax is plant-based and more sustainable, while beeswax has a natural honey scent and burns longer.How strong should my fragrance be?
It depends on personal preference, but typically around 6-10% of the total wax weight is a good rule of thumb.Can I use food coloring instead of candle dye?
It’s best to use dyes made specifically for candles since food coloring can affect the burn quality of the wax.What should I do if my candles have a rough surface?
This can be due to cooling too quickly. Try reheating the surface carefully with a heat gun, then smooth it out.How can I make my candle burn longer?
Trim the wick to ¼ inch each time before lighting and avoid letting it burn for more than 4 hours at a time.
Conclusion
Making DIY candles with candle sand is an incredibly rewarding project. With these simple steps and tips, you can create beautiful, customized candles to brighten your home or give as thoughtful gifts. Embrace your creativity and enjoy the calming process of candle making. Gather your supplies, follow the guide, and transform your space with your own handmade candles! Happy crafting!