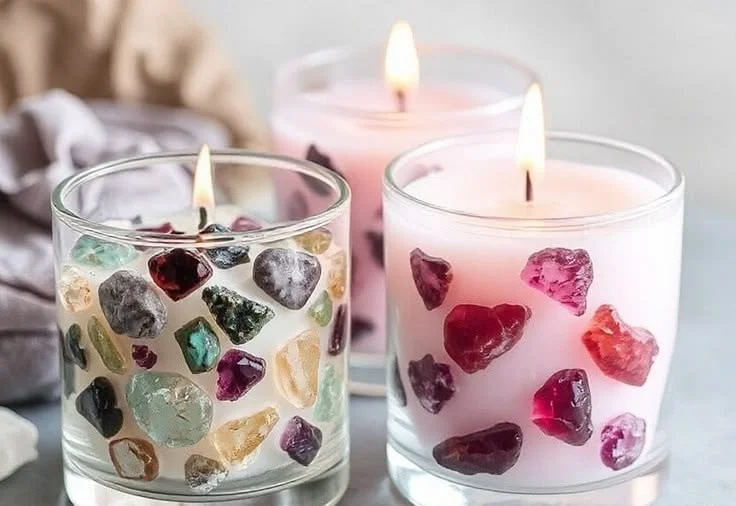

Handmade Candles with Granulated Wax: A Warm Guide for DIY Enthusiasts
Creating your own handmade candles not only fills your home with delightful fragrances but also allows you to express your creativity. If you’re a lover of natural living or a DIY enthusiast, making candles from granulated wax can be a rewarding experience. This guide will walk you through everything you need to know about crafting beautiful and personal candles using heatproof jars or cups.
Why You Will Love This Recipe
Handmade candles serve multiple purposes: they can enhance your interior decor, provide soothing scents, and make thoughtful gifts for friends and family. Using granulated wax offers unique benefits, such as easier handling and more versatility in customization. Whether for a special event or just to add a cozy atmosphere to your home, these candles will shine bright!
Ingredients
To get started, here are the essential ingredients and materials you’ll need:
- Granulated wax: 1 pound (16 ounces) – soy wax is a great option for a cleaner burn
- Fragrance oil: 1 ounce (optional) – choose scents based on personal preference
- Dye (optional): Candle dye chips or liquid dye to achieve desired colors
- Wicks: Pre-tabbed cotton or wood wicks sized appropriately for your container
- Heatproof jars or cups: Any containers that can withstand heat
Equipment
You’ll need the following tools to create your candles:
- Double boiler (or a microwave-safe container for melting wax)
- Thermometer (candy or digital)
- Pouring pitcher or measuring cup with a spout
- Stirring utensil (preferably silicone or wooden)
- Wick holder (or a pencil to stabilize the wick)
- Scale (for precise measurements)
- Safety gloves and an apron
Step-by-Step Instructions
Prepare Your Workspace: Choose a well-ventilated area, cover surfaces with newspaper or protective sheets, and gather all your supplies.
Measure the Wax: Weigh out 1 pound of granulated wax for each candle you plan to make. Be sure to account for the container size.
Melt the Wax:
- If using a double boiler, fill the bottom pot with water and place the granulated wax in the top pot. Heat on medium until the wax melts completely (about 10-15 minutes).
- If using a microwave, place the wax in a microwave-safe bowl. Heat in 30-second intervals, stirring in between, until fully melted.
Check the Temperature: Using a thermometer, make sure the wax reaches about 185°F (85°C) before adding fragrance or color.
Add Fragrance and Dye: If desired, stir in 1 ounce of fragrance oil and a few drops of dye. Mix thoroughly to ensure even distribution.
Attach the Wick: Secure the wick to the bottom of your heatproof jar using a small amount of melted wax or a wick sticker.
Pour the Wax: Carefully pour the melted wax into your container. Leave about half an inch of space at the top and center the wick.
Secure the Wick: Use a wick holder or a pencil to keep the wick centered while the candle sets.
Cooling: Allow the candle to cool for at least 4-6 hours. Do not move it while it hardens.
Trim the Wick: Once completely cool, trim the wick to about ¼ inch above the surface of the candle.
Tips for Success
- Thermometer Use: Always use a thermometer to monitor the wax temperature. Adding fragrance oil at the correct temperature ensures that the scent binds appropriately.
- Wick Testing: Test different wick sizes to achieve the best burn. A wick that is too small may not produce enough scent, while one that is too large can result in too much soot.
- Candle Pairing: Match scents based on the occasion. Consider calming scents like lavender for relaxation or invigorating scents like citrus for energizing moments.
Common Mistakes to Avoid
- Skipping the Wick Test: Don’t skip testing different wick sizes. It could affect how your candle burns and how much scent is released.
- Overheating Wax: Be cautious not to overheat the wax past 200°F (93°C) as it can degrade its quality and affect burn performance.
- Mismatched Containers: Using containers that can’t handle heat risks breakage. Always choose heatproof materials.
Variations and Customization Ideas
- Scent Blends: Go for unique combinations like vanilla and sandalwood, or citrus and thyme to create signature fragrances.
- Decorative Elements: Incorporate dried flowers or herbs into the wax before it hardens for visual appeal.
- Themed Candles: Create candles for specific holidays or events by using appropriate colors and fragrances, such as cinnamon for fall.
Storage and Shelf Life
Store your finished candles in a cool, dry place away from direct sunlight. Properly stored, your candles will last for up to two years. You can also wrap them in tissue paper or place them in decorative boxes to protect them from dust.
Safety Tips
- Always work in a well-ventilated area to avoid inhaling fumes from melting wax or fragrance oils.
- Keep hot wax away from children and pets during the candle-making process.
- Use protective gloves and an apron to avoid hot wax spills on the skin.
Frequently Asked Questions
Q: How can I tell if my wick is the right size?
A: A wick that is too small may not produce sufficient heat to melt the wax thoroughly, while a wick that is too large can cause excessive soot and a wide flame. Always perform a test burn to check.
Q: Can I use essential oils instead of fragrance oils?
A: Yes, essential oils can be used, but they typically offer a lighter scent. Ensure your essential oils are candle-safe as some can affect the melting point.
Q: What if my candle surface is uneven?
A: Uneven surfaces can occur due to rapid cooling. You can simply reheat the top layer of wax with a heat gun to smooth it out.
Q: How do I ensure my candle burns evenly?
A: Proper wick sizing and placement, along with letting the candle burn long enough during the first burn, are key factors for ensuring an even burn.
Conclusion
Handmade candles not only sparkle in your home but also fill the air with gorgeous scents that create a cozy atmosphere. Whether you’re making them as gifts, for special occasions, or simply for your own enjoyment, crafting candles from granulated wax is a straightforward and fulfilling DIY project. With the right materials, techniques, and a pinch of creativity, you can create beautiful, personalized candles that truly reflect your style. So gather your supplies and start your candle-making adventure today—it’s sure to illuminate your craft space and bring joy to those around you! Happy crafting!