
11 Unique DIY Christmas Gifts to Make This Year
Creating thoughtful and personal gifts for the holiday season can be incredibly rewarding. Handmade gifts not only show your creativity but also convey a deep sense of appreciation for the people you care about. This year, why not dive into the world of DIY and consider making homemade soap or candles? Both are not only practical but also allow you to infuse your unique style into each creation. Here’s a guide to help you make 11 unique DIY Christmas gifts that your loved ones will cherish.
Why You Will Love This Recipe
Making your own soap and candles can be a fun and fulfilling hobby. The process is relatively simple and customizable, allowing you to create something truly special. Plus, homemade gifts often have that extra layer of love and care that store-bought items just can’t match. You’ll learn new skills, and the best part? You’ll have an array of delightful scents and layers of colors to work with.
DIY Soap Gifts
1. Melt and Pour Soap
Ingredients
- 1 lb of melt-and-pour soap base (glycerin or shea butter)
- Soap colorant (optional)
- Essential oils or fragrance oils (about 1 oz)
- Add-ins: dried herbs, oatmeal, or exfoliants (optional)
Equipment
- Microwave-safe bowl
- Soap molds
- Stirring utensil
- Rubbing alcohol in a spray bottle (optional for bubble removal)
Step-by-Step Instructions
- Melt the Base: Cut the soap base into small cubes and place them in the microwave-safe bowl. Microwave in 30-second intervals, stirring in between until fully melted.
- Add Color and Fragrance: Once melted, add your colorant and stir thoroughly. Follow up with adding up to 1 oz of essential or fragrance oils and mix well.
- Incorporate Add-ins: If you’re using any add-ins like dried herbs or oatmeal, mix them in now.
- Pour into Molds: Carefully pour the mixture into your molds. If you see bubbles forming on the top, lightly spray the surface with rubbing alcohol to eliminate them.
- Let It Set: Allow your soap to cool and harden for approximately 1-2 hours.
- Unmold: Once hard, gently remove the soap from the molds.
Tips for Success
- Keep your workspace organized and clean to avoid contamination during the process.
- Use a digital scale to ensure accurate measurements of fragrances.
- If you notice the soap thickening too quickly during pouring, consider reheating gently.
Common Mistakes to Avoid
- Don’t overheat the soap base, as it can lose its clarity and quality.
- Avoid adding too much colorant, which can stain the skin.
Variations and Customization Ideas
- Experiment with different essential oils like lavender or eucalyptus.
- Layer different colors of soap for a more decorative look.
Storage and Shelf Life
Store your finished bars in a cool, dry place. They should last up to 6 months if kept away from moisture.
Safety Tips
While melt-and-pour soap is generally safe, avoid ingesting essential oils, and ensure proper ventilation while working with fragrances.
DIY Candle Gifts
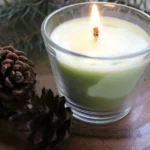
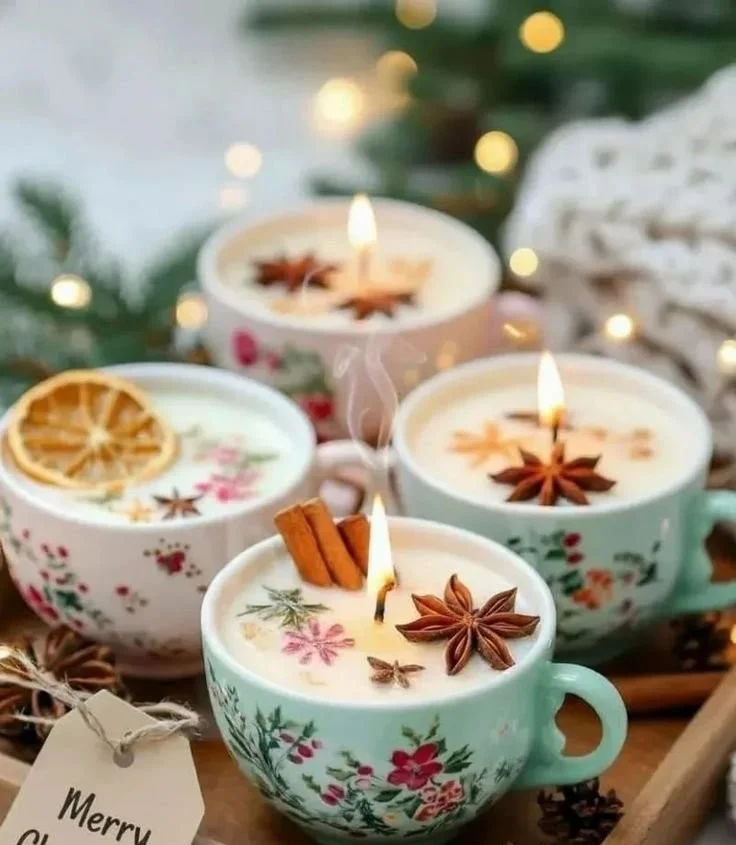
2. Soy Wax Candles
Ingredients
- 1 lb of soy wax
- 1 oz of fragrance oil (optional, depending on scent strength)
- Wick (ensure it’s the correct size for your container)
- A heat-safe container
Equipment
- Double boiler or microwave-safe bowl
- Thermometer
- Stirring stick
- Wick holder or adhesive
Step-by-Step Instructions
- Melt the Wax: If using a double boiler, fill the bottom pot with water and heat it. Place the soy wax in the top pot. If using a microwave, use a microwave-safe bowl and heat in intervals, stirring until melted.
- Monitor the Temperature: Use a thermometer to watch the temperature of the wax. Ideal pouring temperature is around 130-140°F.
- Add Fragrance: Stir in your fragrance oil once the wax reaches the correct temperature.
- Attach Wick: Secure your wick at the bottom of the container with adhesive or a wick holder.
- Pour the Wax: Carefully pour the melted wax into the container, leaving some space at the top.
- Cool and Trim: Allow the candle to cool completely before trimming the wick to about ¼ inch.
Tips for Success
- Test your wick ahead of time to ensure it burns correctly for your container size.
- Stir the wax gently to avoid bubbles, which can affect the final finish.
Common Mistakes to Avoid
- Adding fragrance oil at too high a temperature can damage the scent.
- Don’t pour the wax too quickly, which can create unsightly air pockets.
Variations and Customization Ideas
- Create layered candles with different colored waxes for decorative flair.
- Add dried flowers or herbs to the wax for a unique touch.
Storage and Shelf Life
Store your candles in a cool, dark place. They should be used within one year for the best scent throw.
Safety Tips
Always burn candles in a safe container and never leave them unattended while lit to avoid fire hazards.
Frequently Asked Questions
1. Can I use essential oils in my soaps and candles?
Yes, essential oils can add delightful scents to your creations! Just be sure to check the usage rates, as some essential oils are stronger than others.
2. How long will my homemade candles and soaps last?
If stored properly, homemade soaps can last up to 6 months, while homemade candles typically last about a year.
3. What should I do if my soap is too soft?
If your soap doesn’t harden properly, it may contain too much moisture. You can melt it down again and re-form with proper ratios.
4. How can I avoid soot in my candles?
Make sure to trim the wick to the proper length before burning; this helps prevent soot and ensures a cleaner burn.
5. What type of container can I use for candles?
You can use glass jars, metal tins, or heat-resistant ceramic containers as long as they can withstand the heat when the wax is melted.
6. What’s the best way to package my gifts?
Consider using decorative boxes, clear cellophane wraps, or simple kraft paper with festive ribbons to create a charming presentation.
Conclusion
Embracing the spirit of handmade gifts this Christmas can bring joy to both you and the recipients. Whether it’s a fragrant soy candle or a beautifully crafted bar of soap, these DIY projects are not only easy to make but also enable you to add a personal touch to your gifts. So gather your ingredients, get creative, and spread warmth and cheer through your thoughtful creations! Happy crafting!