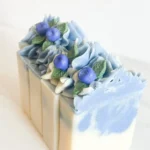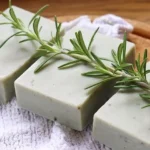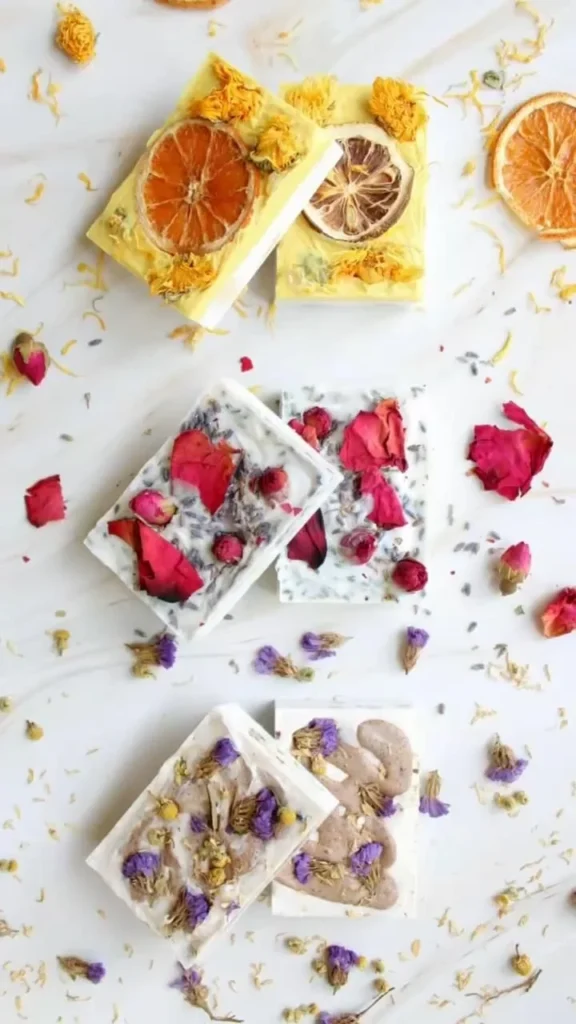

Unlock the Magic of Soap Making with Our Beginner-Friendly Guide
If you’ve ever watched a soap-making tutorial and felt a stir of excitement, you’re not alone! Making your own soap at home can be a rewarding and creative process that not only allows you to customize your skincare routine but also serves as a fantastic DIY project. In this guide, we will explore the cold process method of soap making—perfect for beginners who want to create beautiful, skin-nourishing soaps without needing fancy equipment or extensive knowledge. So, let’s dive into the world of homemade soap!
Why You Will Love This Recipe
Making your own soap is not only fun; it’s also a chance to explore your creativity! You’ll love knowing exactly what goes into the products you use on your skin. Plus, homemade soaps make thoughtful gifts or unique additions to your home. Here are a few reasons why you’ll enjoy this DIY project:
- Customizable: Tailor your scents, colors, and specific skin benefits.
- Eco-Friendly: Control your ingredients and reduce packaging waste.
- Therapeutic: The process can be quite meditative and satisfying.
- Cost-Effective: Save money by making your favorite soaps at home.
Ingredients
For this cold process soap recipe, you will need the following ingredients:
Basic Cold Process Soap Recipe
- Olive Oil: 12 ounces (340 grams)
- Coconut Oil: 12 ounces (340 grams)
- Palm Oil: 12 ounces (340 grams)
- Distilled Water: 12 ounces (340 grams)
- Sodium Hydroxide (Lye): 4.75 ounces (135 grams)
- Essential or Fragrance Oil: 2 ounces (56 grams) (optional)
- Colorants: As needed (optional)
Safety Note
Sodium Hydroxide is a caustic substance. Always wear gloves, goggles, and a mask when handling lye. Ensure you’re in a well-ventilated area.
Equipment
Before you start, gather these essential tools:
- Digital Scale: For precise measurements.
- Heat-Resistant Glass or Plastic Container: To mix lye and water.
- Thermometer: To monitor oils and lye temperatures.
- Stick Blender: For emulsifying the soap mixture.
- Soap Mold: Silicone molds work best for easy removal.
- Spatula: For scraping.
- Safety Equipment: Gloves, goggles, and a mask.
- Measuring Cups and Spoons: For exact ingredient quantities.
Step-by-Step Instructions
Follow these instructions carefully for a successful soap-making experience!
Preparation Time
- Preparation Time: 30 minutes
- Making Time: 2-3 hours
- Approximate Yield: 2 pounds (900 grams) of soap
Step 1: Prepare Your Workspace
Make sure your workspace is tidy and that you have all your materials within reach. Safety is key, so put on your gloves, goggles, and mask before handling lye.
Step 2: Measure Ingredients
- Measure out 12 ounces of distilled water in a heat-resistant container.
- Carefully weigh 4.75 ounces of sodium hydroxide.
- Slowly add the lye to the water (never the other way around) and stir until dissolved. This will create heat and will release harmful fumes; be cautious and keep your face away.
Step 3: Measure Oils
- Measure 12 ounces of olive oil, 12 ounces of coconut oil, and 12 ounces of palm oil.
- Combine all oils in a safe, heat-proof pot and gently heat until all oils are melted. Ideally, the oil temperature should be between 90°F – 110°F (32°C – 43°C).
Step 4: Combine Lye and Oils
- Once both the lye solution and oils are between 90°F – 110°F, slowly pour the lye solution into the oils while blending with a stick blender.
Step 5: Blend to Trace
- Blend until the mixture reaches "trace," which means it thickens and leaves a trail when drizzled over the surface.
Step 6: Add Fragrance and Color
- If you’d like to add essential or fragrance oils and colorants, do so now. Blend well to incorporate them evenly.
Step 7: Pour into Molds
- Carefully pour the soap mixture into your mold. Tap gently to remove air bubbles.
Step 8: Insulate and Cure
- Cover the mold with a towel for insulation. Allow it to sit undisturbed for 24 to 48 hours.
Step 9: Unmold and Cut
- Once fully hardened, carefully remove the soap from the mold and cut it into bars.
Step 10: Cure Your Soap
- Place bars on a rack in a cool, dry area, allowing them to cure for 4-6 weeks. This allows the lye to fully saponify and the bars to harden.
Tips for Success
- Temperature Control: Keeping the lye and oils at similar temperatures helps avoid issues during mixing.
- Stick Blender Use: Don’t over-blend once you reach trace; too much blending can result in a thickened mixture that’s hard to pour.
- Texture and Color: If you’re looking for a marbled effect, pour different colored layers alternatively.
Common Mistakes to Avoid
- Using Water Instead of Lye: Always verify your measurements. Adding too much water will lead to soft soap.
- Overheating Oils: Monitor your temperatures to avoid damaging oils or producing excess fumes.
- Skipping Cure Time: Patience is vital! Curing is essential for safety and quality.
Variations and Customization Ideas
- Switch Up Oils: Substitute coconut oil with other oils, such as sweet almond or avocado oil, to customize the properties.
- Add Natural Exfoliants: Ingredients like oats, coffee grounds, or poppy seeds can add texture.
- Experiment with Scents: Use different essential oils to tailor the aroma to your liking.
Storage and Shelf Life
Store your bars in a cool, dry area away from direct sunlight. Properly cured soap can last for up to a year. If you notice any unusual odors or discoloration, it’s best to discard them.
Safety Tips
- Always work in a well-ventilated area and wear protective gear.
- Store lye in a safe place, away from children and pets.
- If lye contacts skin, rinse immediately with plenty of water and seek medical attention.
Frequently Asked Questions
1. Can I use different types of oils in my soap?
Absolutely! Each oil has unique properties, so feel free to experiment. Just remember to calculate the lye amounts using a reliable soap calculator.
2. What should I do if my soap turns out too soft?
This may be due to excess water or not enough curing time. Ensure you’re measuring precisely and allow your soap to cure for the full period.
3. How can I create a natural color for my soap?
You can use natural colorants such as clay, turmeric, or beet powder to achieve lovely hues.
4. Is there a way to speed up the curing process?
Unfortunately, the curing process is essential for safety and quality. It’s best to allow 4-6 weeks for optimal results.
Conclusion
Congratulations on taking the first steps into the world of soap making! With this beginner-friendly guide, you’re well-equipped to start your soapy adventure. Remember, practice makes perfect, so don’t hesitate to experiment and develop your unique recipes. Enjoy the journey and the delightful scents of your homemade creations. Happy soap making!