
Transform Your Space with Homemade Candle Making
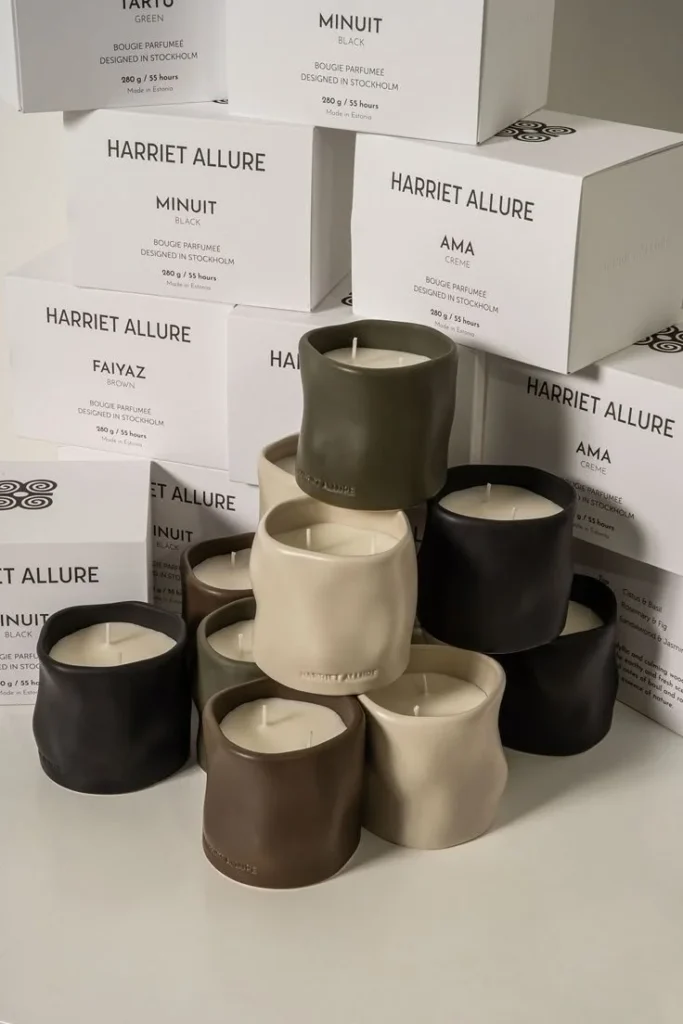
Creating your own candles is a delightful hobby that not only fills your space with warmth and aromatic bliss but also allows you to express your personal style. Lifestyle brand Harriet Allure beautifully embodies this sentiment through its exquisite aromatic candles that invite you to embrace the moment. If you’re ready to embark on your own candle-making journey, this guide provides practical steps and tips to make stunning homemade candles that you’ll cherish.
Why You Will Love This Recipe
Candles can transform the atmosphere of any room, turning a simple space into a cozy haven. Homemade candles also make wonderful gifts for loved ones or a luxurious treat for yourself. Whether you choose to create dazzling scented candles infused with calming lavender or invigorating citrus, the process is rewarding and allows for endless customization.
Ingredients
For this candle-making project, you will need the following:
- Wax: 1 pound of soy wax (eco-friendly and easy to work with)
- Fragrance oil: 1 ounce (choose your favorite scent, like vanilla, lavender, or eucalyptus)
- Dye (optional): Candle dye chips or liquid dye
- Wicks: Pre-waxed wicks with sustainers (choose a wick suitable for the size of your container)
- Containers: Heatproof jars or vessels for pouring your candles (mason jars or glass cups are great options)
Equipment
Gather the following tools to ensure a smooth candle-making process:
- Double boiler or microwave-safe container
- Thermometer
- Stirring utensil (wooden spoon or silicone spatula)
- Scale for measuring
- Pouring pitcher (optional, but helpful)
- Wick holder or adhesive (to keep wicks centered)
- Paper towels for cleaning up spills
Step-by-Step Instructions
Follow these simple steps to create your beautiful homemade candles:
Prepare Your Work Area: Cover your workspace with newspaper or paper towels to catch any spills. Ensure you have all your ingredients and equipment within easy reach.
Measure Your Wax: Use the scale to measure 1 pound of soy wax. This should fill your desired containers, accounting for the volume of space taken up by the wick.
Melt the Wax: If using a double boiler, fill the bottom pot with water and place it over medium heat. Add the wax to the upper pot. If using a microwave, place the wax in a microwave-safe container and heat in 30-second intervals, stirring in between until melted.
Temperature Tip: Melt the wax to about 180°F (82°C) for optimal fragrance release.
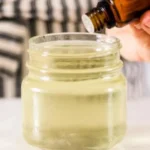
Add Fragrance Oil: Once fully melted, remove the wax from heat and let it cool to around 170°F (77°C). Stir in your chosen fragrance oil (1 ounce for every pound of wax) until well blended. If you’d like to add color, now’s the time to incorporate your dye.
Prepare the Wick: While the wax cools, affix the wick to the bottom of the container using a dot of adhesive or a wick holder. Ensure it’s centered.
Pour the Wax: When the wax is at about 150°F (65°C), carefully pour it into the prepared containers. Leave about half an inch of space from the top.
Secure the Wick: Use a wick holder or chopstick to keep the wick centered while the wax sets.
Cool and Cure: Allow the candles to cool completely, which can take several hours. It’s best to let them cure for at least 24-48 hours for the best scent throw.
Trim the Wick: Use scissors to trim the wick to about 1/4 inch above the wax surface.
Tips for Success
Wick Size Matters: Ensure you choose the right wick size based on the diameter of your containers. A wick that’s too small will burn inefficiently, while one that’s too large can produce excessive soot.
Cure Time: Giving your candles a couple of days to cure improves fragrance throw and the overall quality of the candle.
Fragrance Intensity: If you prefer a stronger scent, consider increasing the fragrance load slightly, but be cautious not to exceed the wax’s recommended limit.
Common Mistakes to Avoid
Using the Wrong Wax: Each type of wax has different burning characteristics. Soy wax is user-friendly for beginners and holds fragrance well.
Skipping Temperature Checks: Not monitoring the wax temperature can lead to poor mixing of fragrance and color, affecting candle performance.
Pouring Too Hot: Pouring wax while it’s too hot can cause cracks on the surface. Aim for the ideal pour temperature.
Variations and Customization Ideas
Scent Blends: Don’t hesitate to mix different fragrance oils for unique combinations tailored to your preferences.
Decorative Elements: Embed dried flowers, herbs, or spices in the wax for aesthetic appeal.
Layering: Pour in layers of different colored wax for a visually striking candle.
Storage and Shelf Life
Store your finished candles in a cool, dry place away from direct sunlight. They can last for up to a year if stored properly. Avoid keeping them in hot areas, as this can affect their scent and appearance.
Safety Tips
Always work in a well-ventilated area, especially when melting wax and adding fragrances.
Keep a fire extinguisher nearby when working with hot wax.
Avoid leaving candles burning unattended and keep them out of reach of children and pets.
Frequently Asked Questions
Q: What type of wax is best for beginners?
A: Soy wax is ideal for beginners because it’s easy to work with and produces a clean burn.
Q: How do I know how much fragrance to add?
A: A good rule of thumb is to use 1 ounce of fragrance oil per pound of wax, adjusting to your personal scent preference.
Q: Can I use essential oils instead of fragrance oils?
A: Yes, but essential oils may not throw scent as strongly as synthetic fragrances in candles, so it’s best to experiment.
Q: How can I prevent my candles from tunneling?
A: Ensure your wick is the right size for your container, and always allow your candle to burn long enough to melt the top layer evenly.
Q: What equipment do I need for candle making?
A: Essential equipment includes wax, wicks, fragrance oils, containers, a double boiler or microwave, thermometer, and stirring utensils.
Q: Is it safe to use food containers for candles?
A: Ensure any container is heatproof. Glass or metal containers specifically designed for candles are the safest choice.
Conclusion
Making your own candles is not just a rewarding DIY project; it’s a way to infuse your home with beautiful scents and create a cozy environment that resonates with your personality. With the warm glow of handmade candles, inspired by Harriet Allure’s ethos of embracing home, you’ll find joy not only in their creation but also in their illuminating presence. So gather your supplies, follow these steps, and enjoy your next creative adventure!